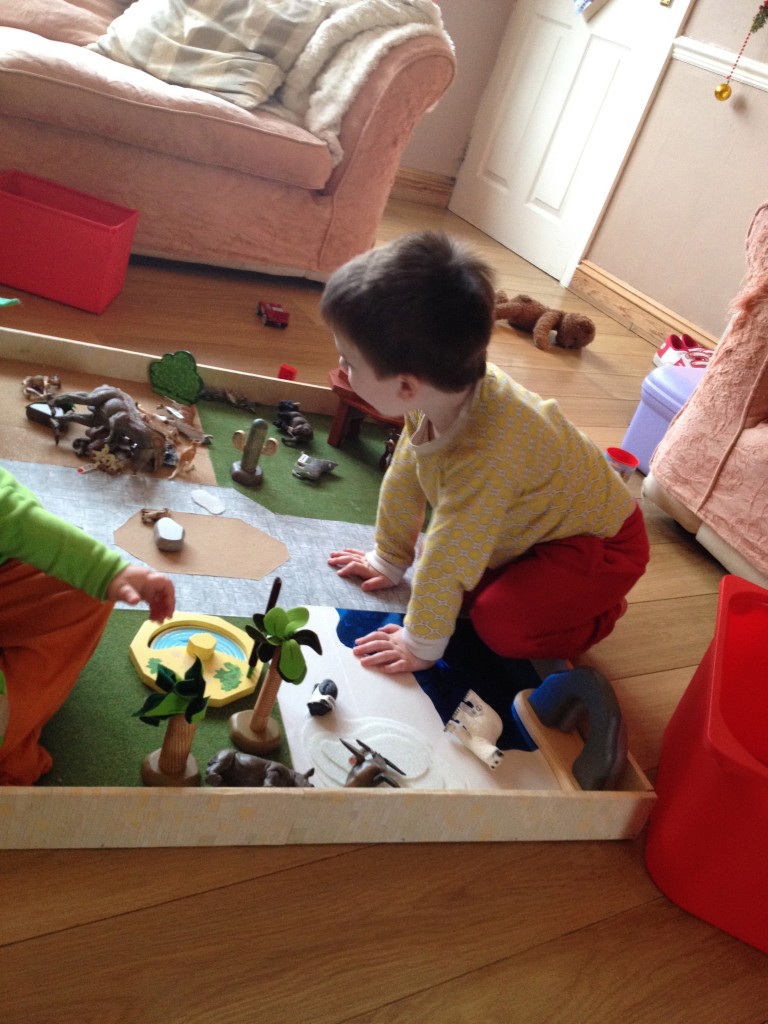
Making this zoo for the boys has been so pleasurable and has proved to be cheaper, more rewarding and even looks better than most shop bought ones I’ve seen.
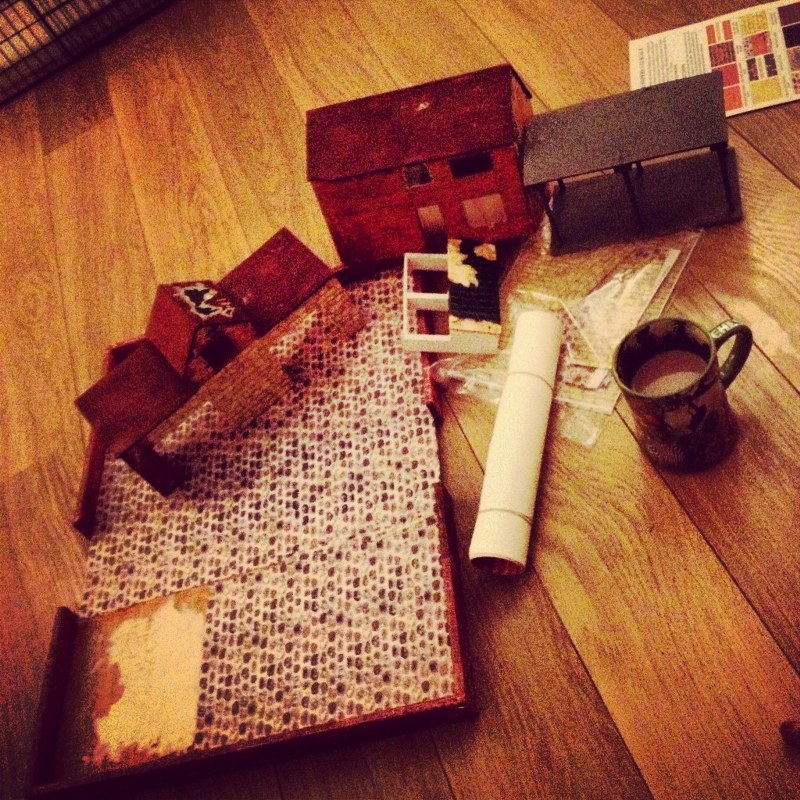
Last year I took my old farmhouse that was made for me by my late grandfather and I re-papered it, and played with the design slightly so that the boys could have a totally new toy, but I also wanted my Grandfather’s hard work to be passed down and made a family heirloom of sorts.
My Grandfather’s farm in the process of being repapered. I was in labour while I was doing this, a great way to keep calm and focus in the early stages of labour.
Doing this was so much fun, and seeing how much pleasure the boys get from playing with it just makes my heart sing. I feel so proud that something so wonderful was made for me and that I could pass it on to my children, with my own little tweaks. So, after a few months when Reuben and Toby’s Schleich animal collection grew to include zoo animals as well, I wondered if I could try my hand a making a brand new zoo play set for them, completely from scratch. I might add at this point that my Grandfather was a master cabinet maker, so he did have a little bit more experience than me!
I gave it a go and I can’t believe how easy it was to do. As I made the farm for Reuben a few weeks after Toby was born, I gifted the zoo to Toby for his main Christmas present, although this really is for both children! I strongly urge you to give it a go, the Zoo is exactly as I wanted it to be, no bits that I don’t like, and I know exactly how sturdy it is, not only that but the satisfaction I get from knowing I made something for my boys (I did go rather crazy with the size, but you can make this as large or as small as you like) and knowing it cost me such a small amount whereas a shop bought one would cost upwards of £150 for the same size, is wonderful and so rewarding!
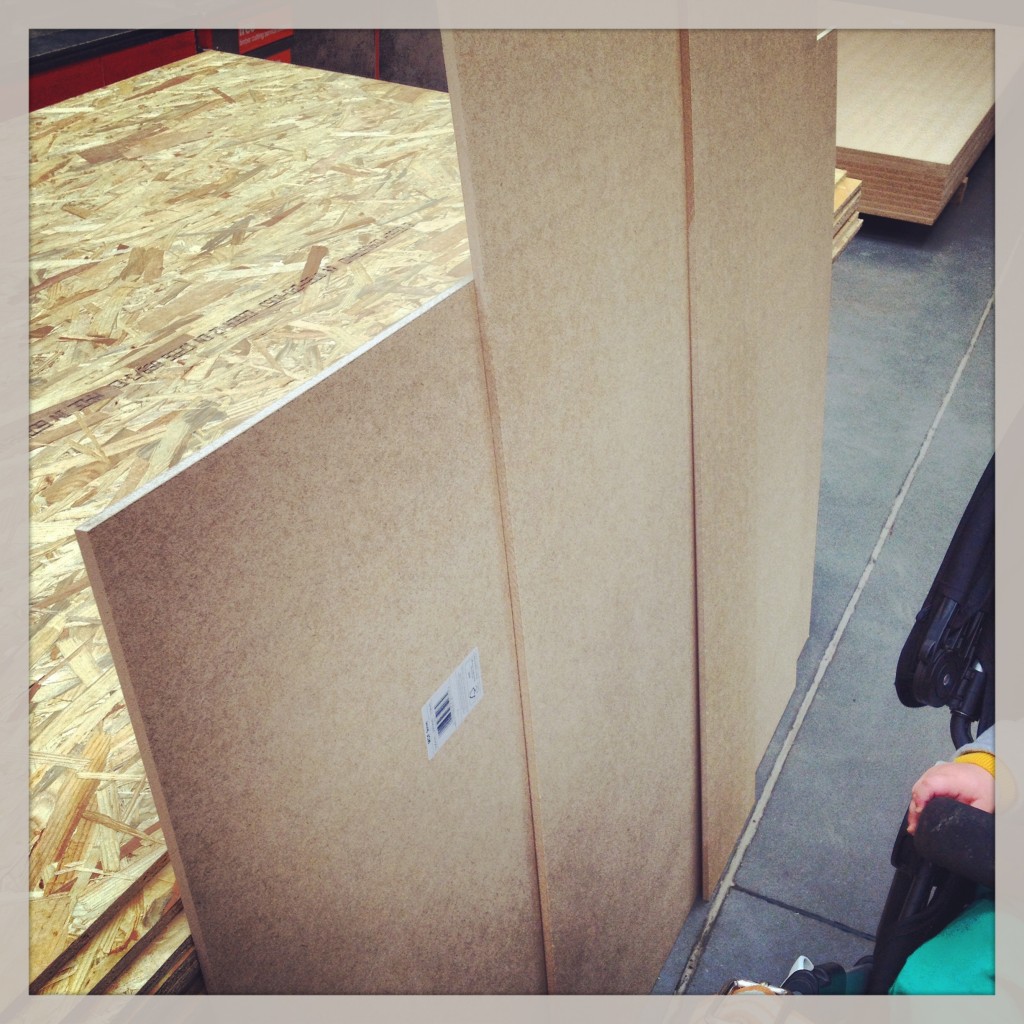
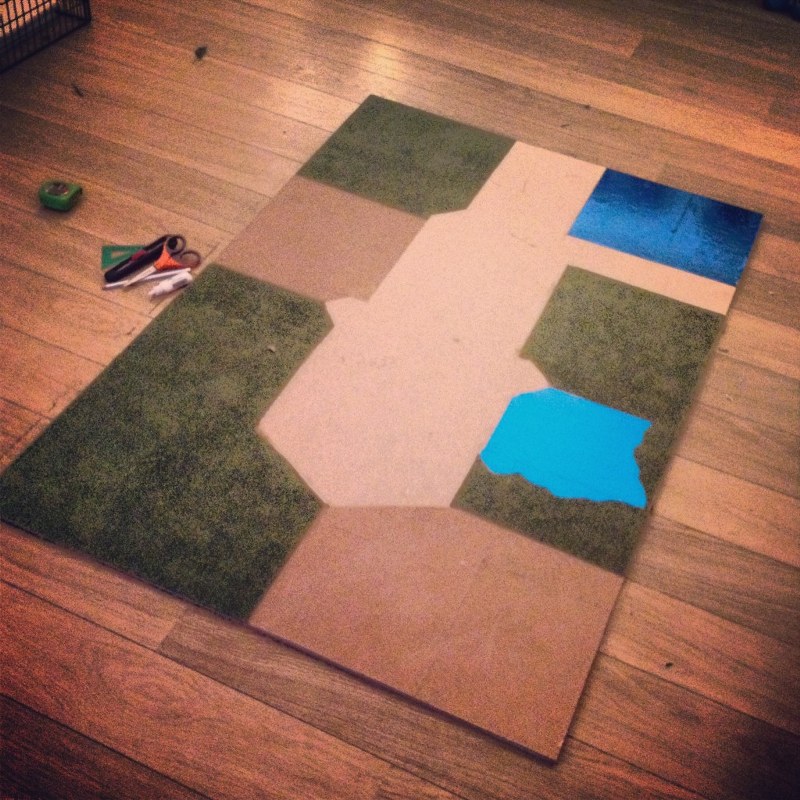
I bought a wooden panel from a local hardware store and had it cut down my required size, plus had the pieces for the ‘wall’ cut too. This is usually a free service and the wood itself was very inexpensive.
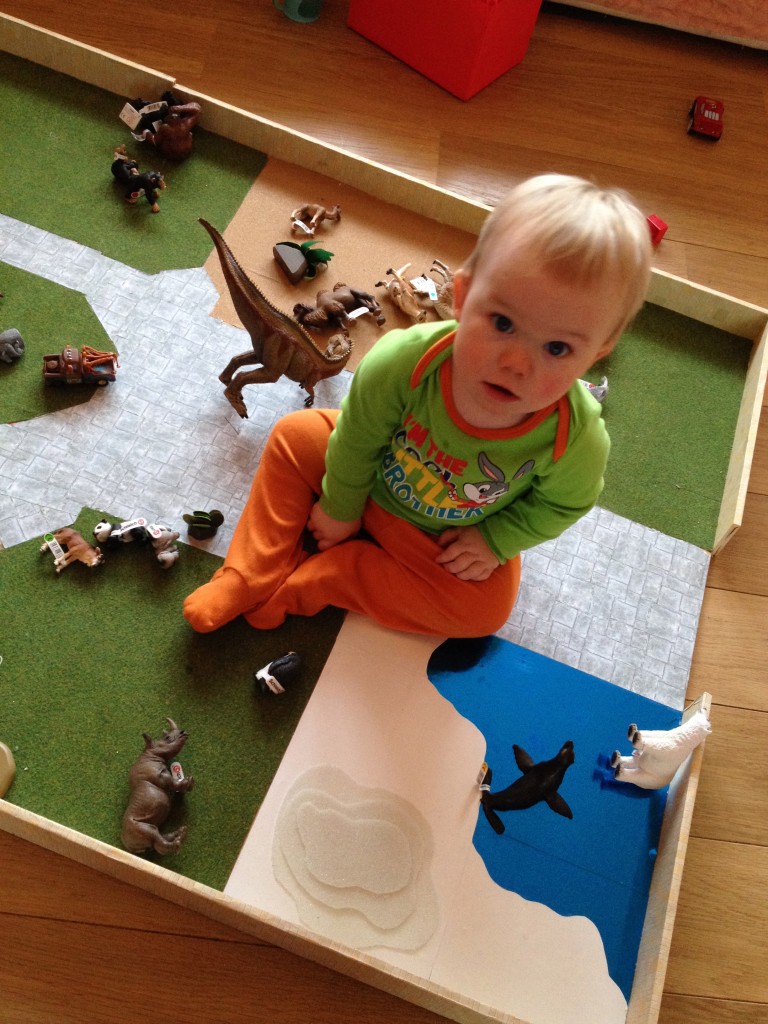
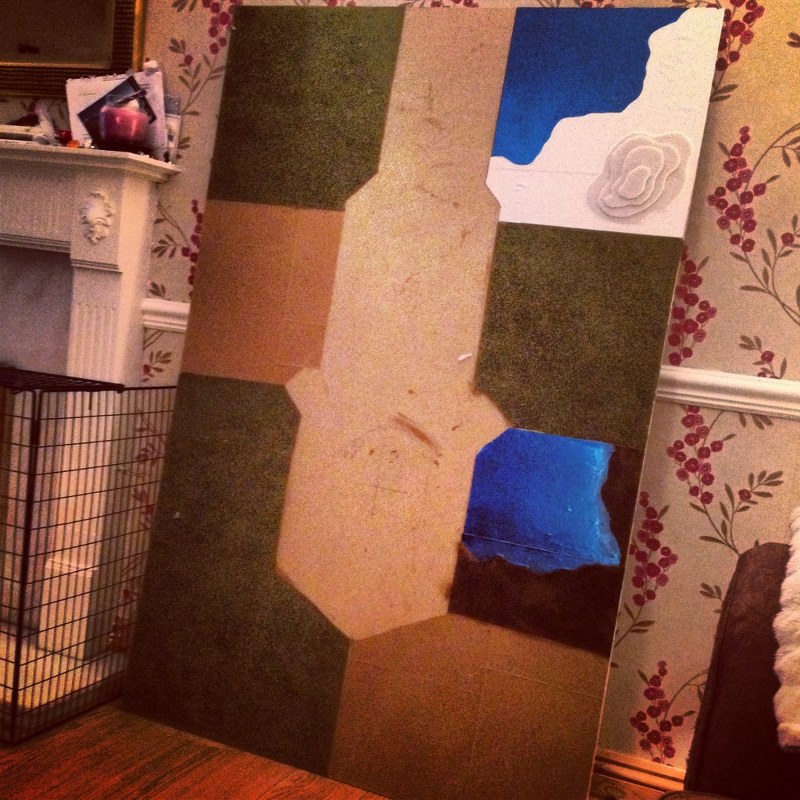
I designed a ‘zoo’ theme with various pens. I used reflective blue paper for water, sand paper for sand (very fine so as not to scratch the children when they play) and model railway grass sheets for the grass pens.
The ice pen was added here, I used a reflective white paper and then a foam paper to create an ice sculpture.
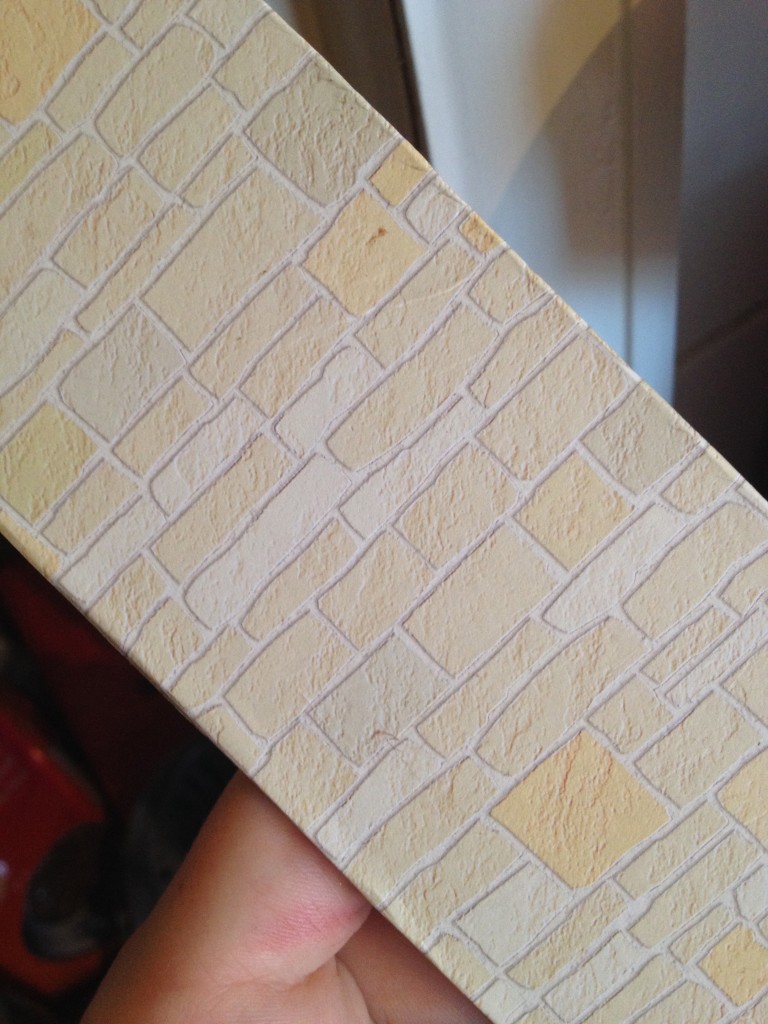
Brick style dollhouse paper, which you can find online or in a crafting store, for the wooden panels that made up the bricks.
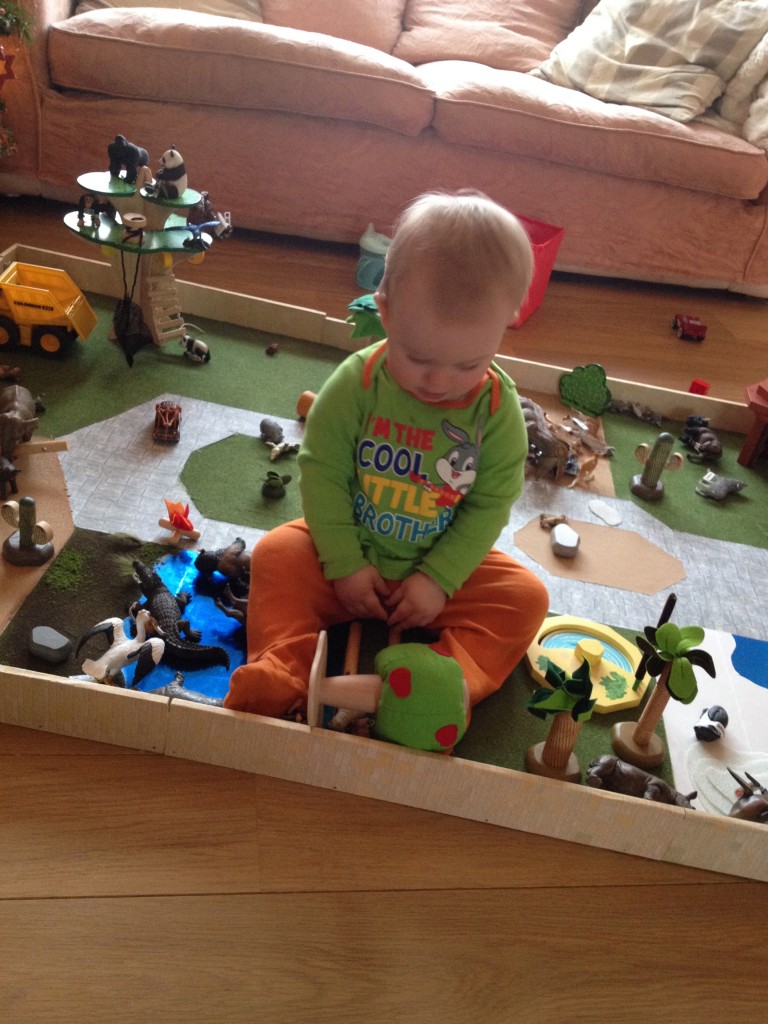
I purposefully didn’t add any interior walls as I knew the boys would want to sit in the zoo! You can add them easily though if you choose. I will be buying some fencing for them to make the pens for themselves. The schleich fencing is very durable.
Reuben joined in the fun too! Just to point out all of the animals are Schleich, I find them the best for Toby who wants to chew everything. They never damage! The trees and accessories are Le Toy Van and the big fabric trees are Animalz. All bought from a small local shop called Bubbles toys in york.
