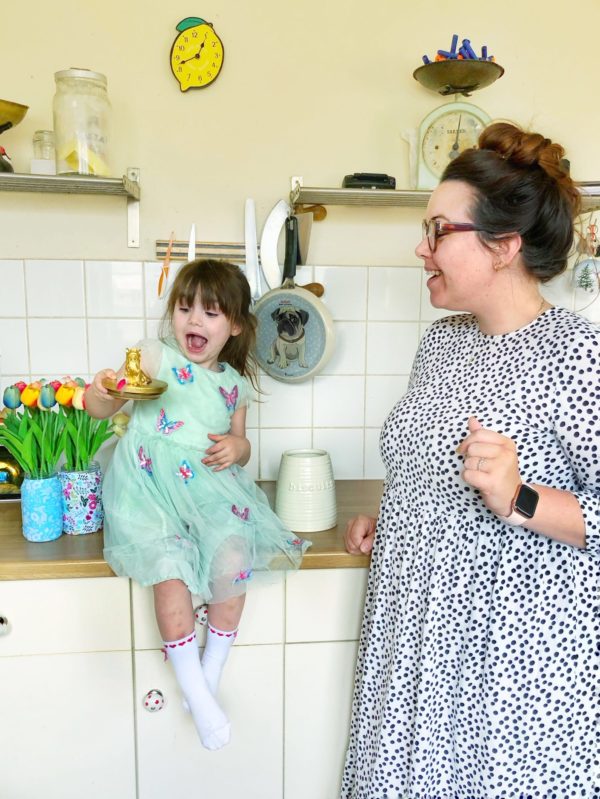
As you know at the moment we are building an extension to our house and a huge part of that is extending the kitchen and making it open plan with a dining room and snug (you can see all the plans here!)
Anyway, Belling, the British appliance brand that has been helping families create tasty meals since 1912, got in touch with me to ask me if I would like to see what they discovered about exactly what happens in a kitchen. Obvs I said yes! The Life of a kitchen (as the research project was called) was actually really interesting and made total sense as to why I felt that this needed to become more of a family space for us as opposed to just a place where I cook or… burn toast – the survey shows that 146 pieces of toast are burnt in the average kitchen a year and I think it’s safe to say that I’m responsible for a pretty large portion of that!
When it comes to planning for the future I love the picture of a British family kitchen that Belling’s research of over 1575 families has painted. From 624 bouts of laughter, 463 kisses and 275 kitchen singalongs over an average 2.7 hours a day in the kitchen, I can’t help but feel excited about what is to come! They also discovered an average of 171 arguments and 182 tantrums each year, but we’re going to glance over that (and also assume that they haven’t seen Edith’s “daily tantrum” rule…)
So what are my plans for making this kitchen a super fun space?
I have a few ideas for making a super fun kitchen space and not all of them require much effort on your part (or mine). I love the idea of the whole family having fun in the kitchen too so these are all things you can do with your whole family! Try these ideas:
- A kitchen disco – Try this disco light to crank up the party fun with lights, if you lower the blinds it makes for ALL the fun! We use our smart hub for playing Spotify.
- Kitchen picnics – Take all of the blankets and pillow from the living room into the kitchen area and make yourself a little indoor kitchen picnic. You’re right by the fridge that way so why not?
- Cover the kitchen floor with plain lining wallpaper and have some painting fun – who doesn’t love a big canvas? I used to do this with the kids all the time and admittedly I haven’t for a long time because with three children it gets very messy BUT it is fun if you don’t mind the mess. Just plonk some paint palettes (or even a little saucer with paint on it?) down, give them a brush and step back.
- Baking together – this was one of Adam and Edith’s favourite little activities. Everything from little buns to little chocolate cornflake bites, Edith loved it!
- Get a betta fish self sustaining water garden – this is defo making an appearance in my kitchen (though someone else will have to clean it because fish scare the bejebus out of me). This is called an “aquaponics ecosystem” which is a fancy pants way of saying if it s fish tank that grows plants. Betta fish are beautiful, super colourful and who doesn’t want herbs in their kitchen? I think this is a lovely way to teach kids about ecosystems too – the whole system is so clever!
So how about decorating? Well obviously for us this build (which I think we have agreed a lot of in our current kitchen – just like the research suggests ha!) we are spending all our pennies, so for me decorating exactly how I would like to is a priority but I also want to try and ensure I stick to some kind of budget!
If you’re in the same boat, try these ideas for putting personal touches on your kitchen, without paying bespoke prices (oh, and your kids should really be able to help with these as they are SUPER simple!)
Pretty Jars for Vases
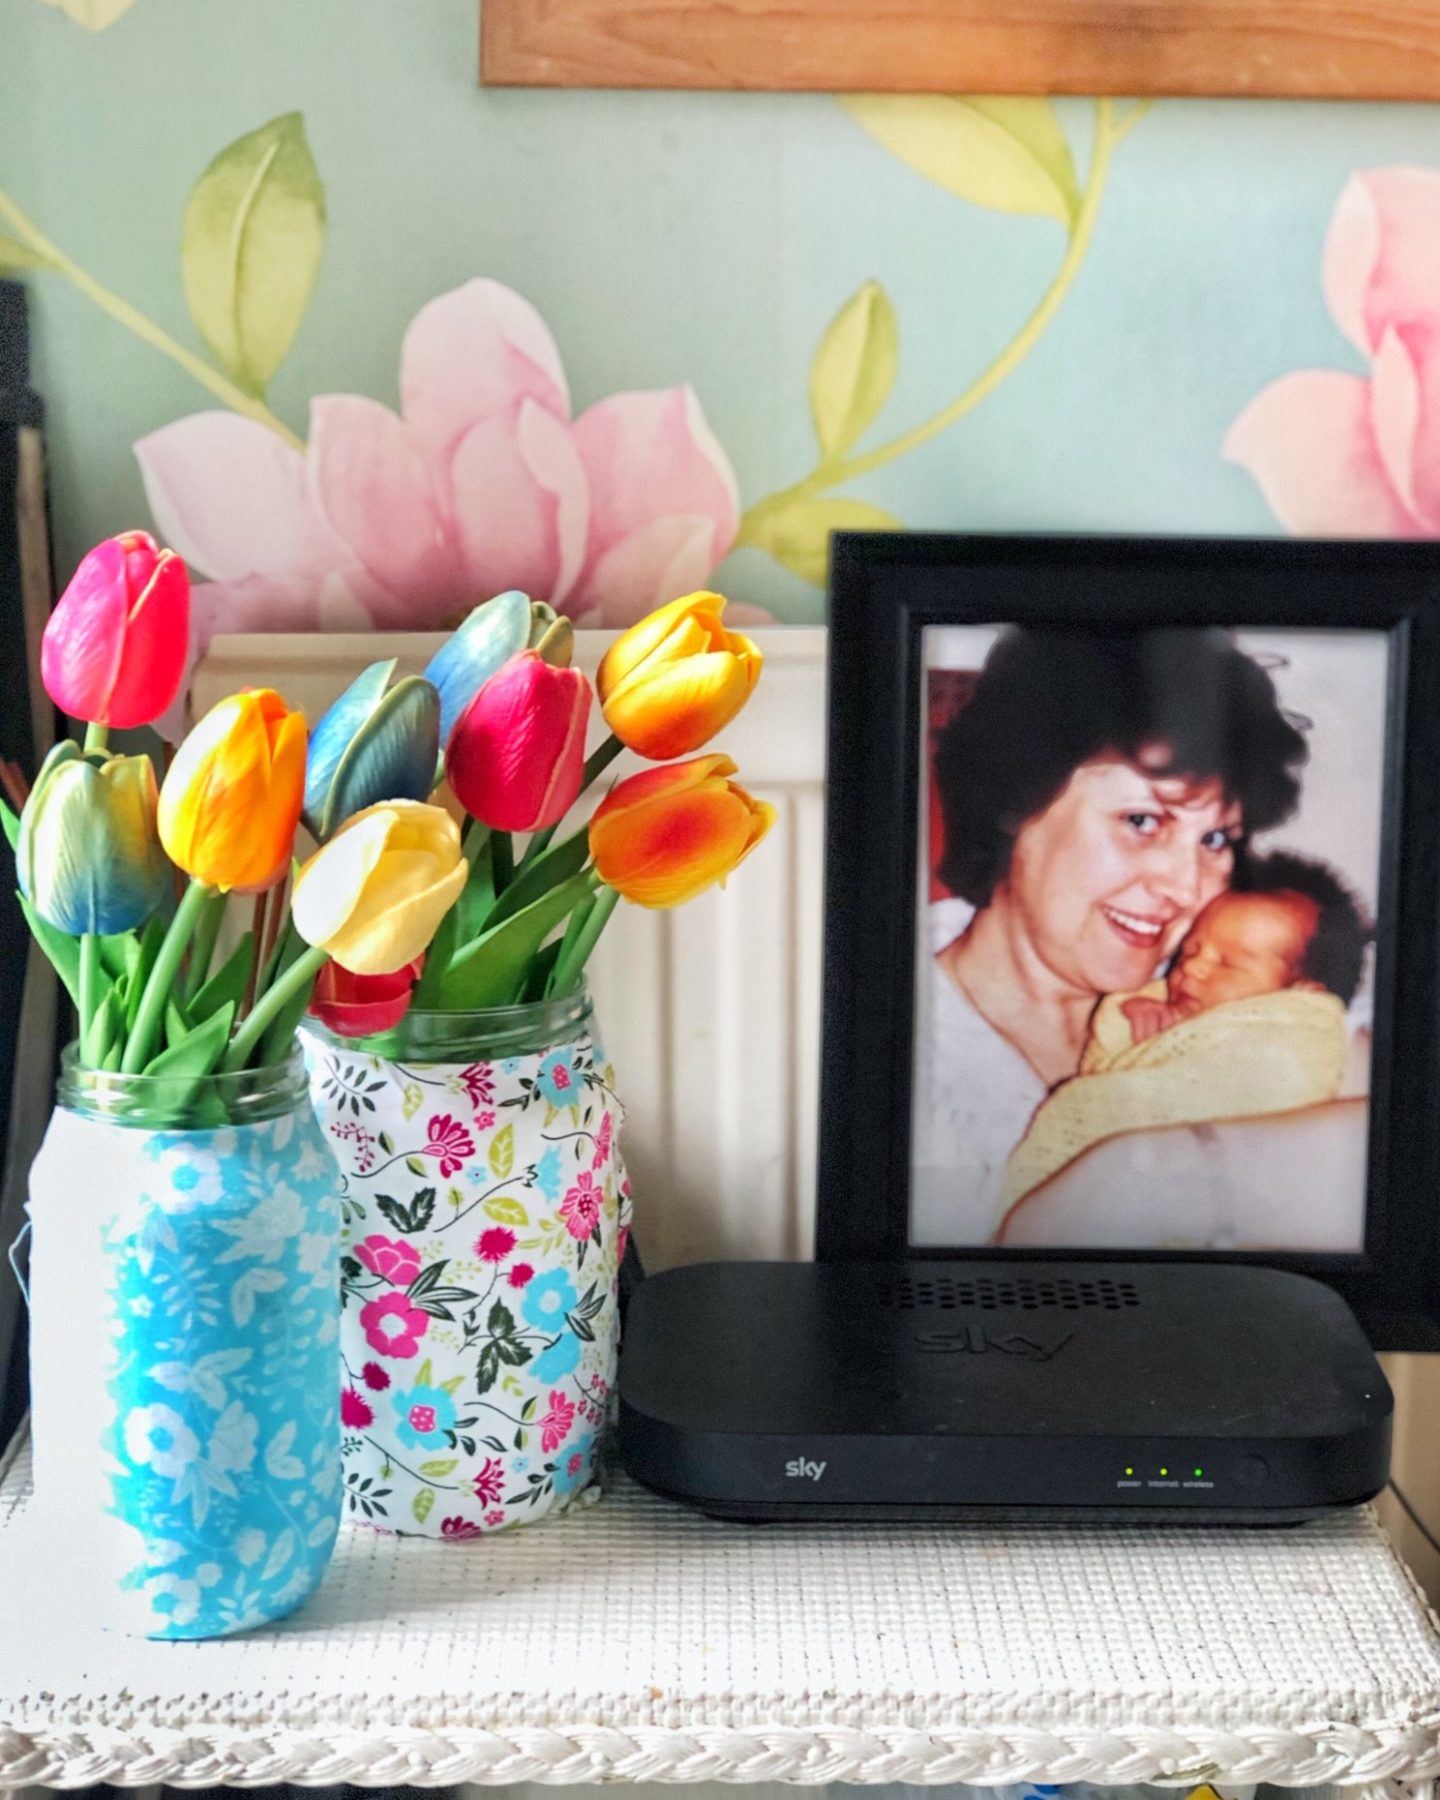
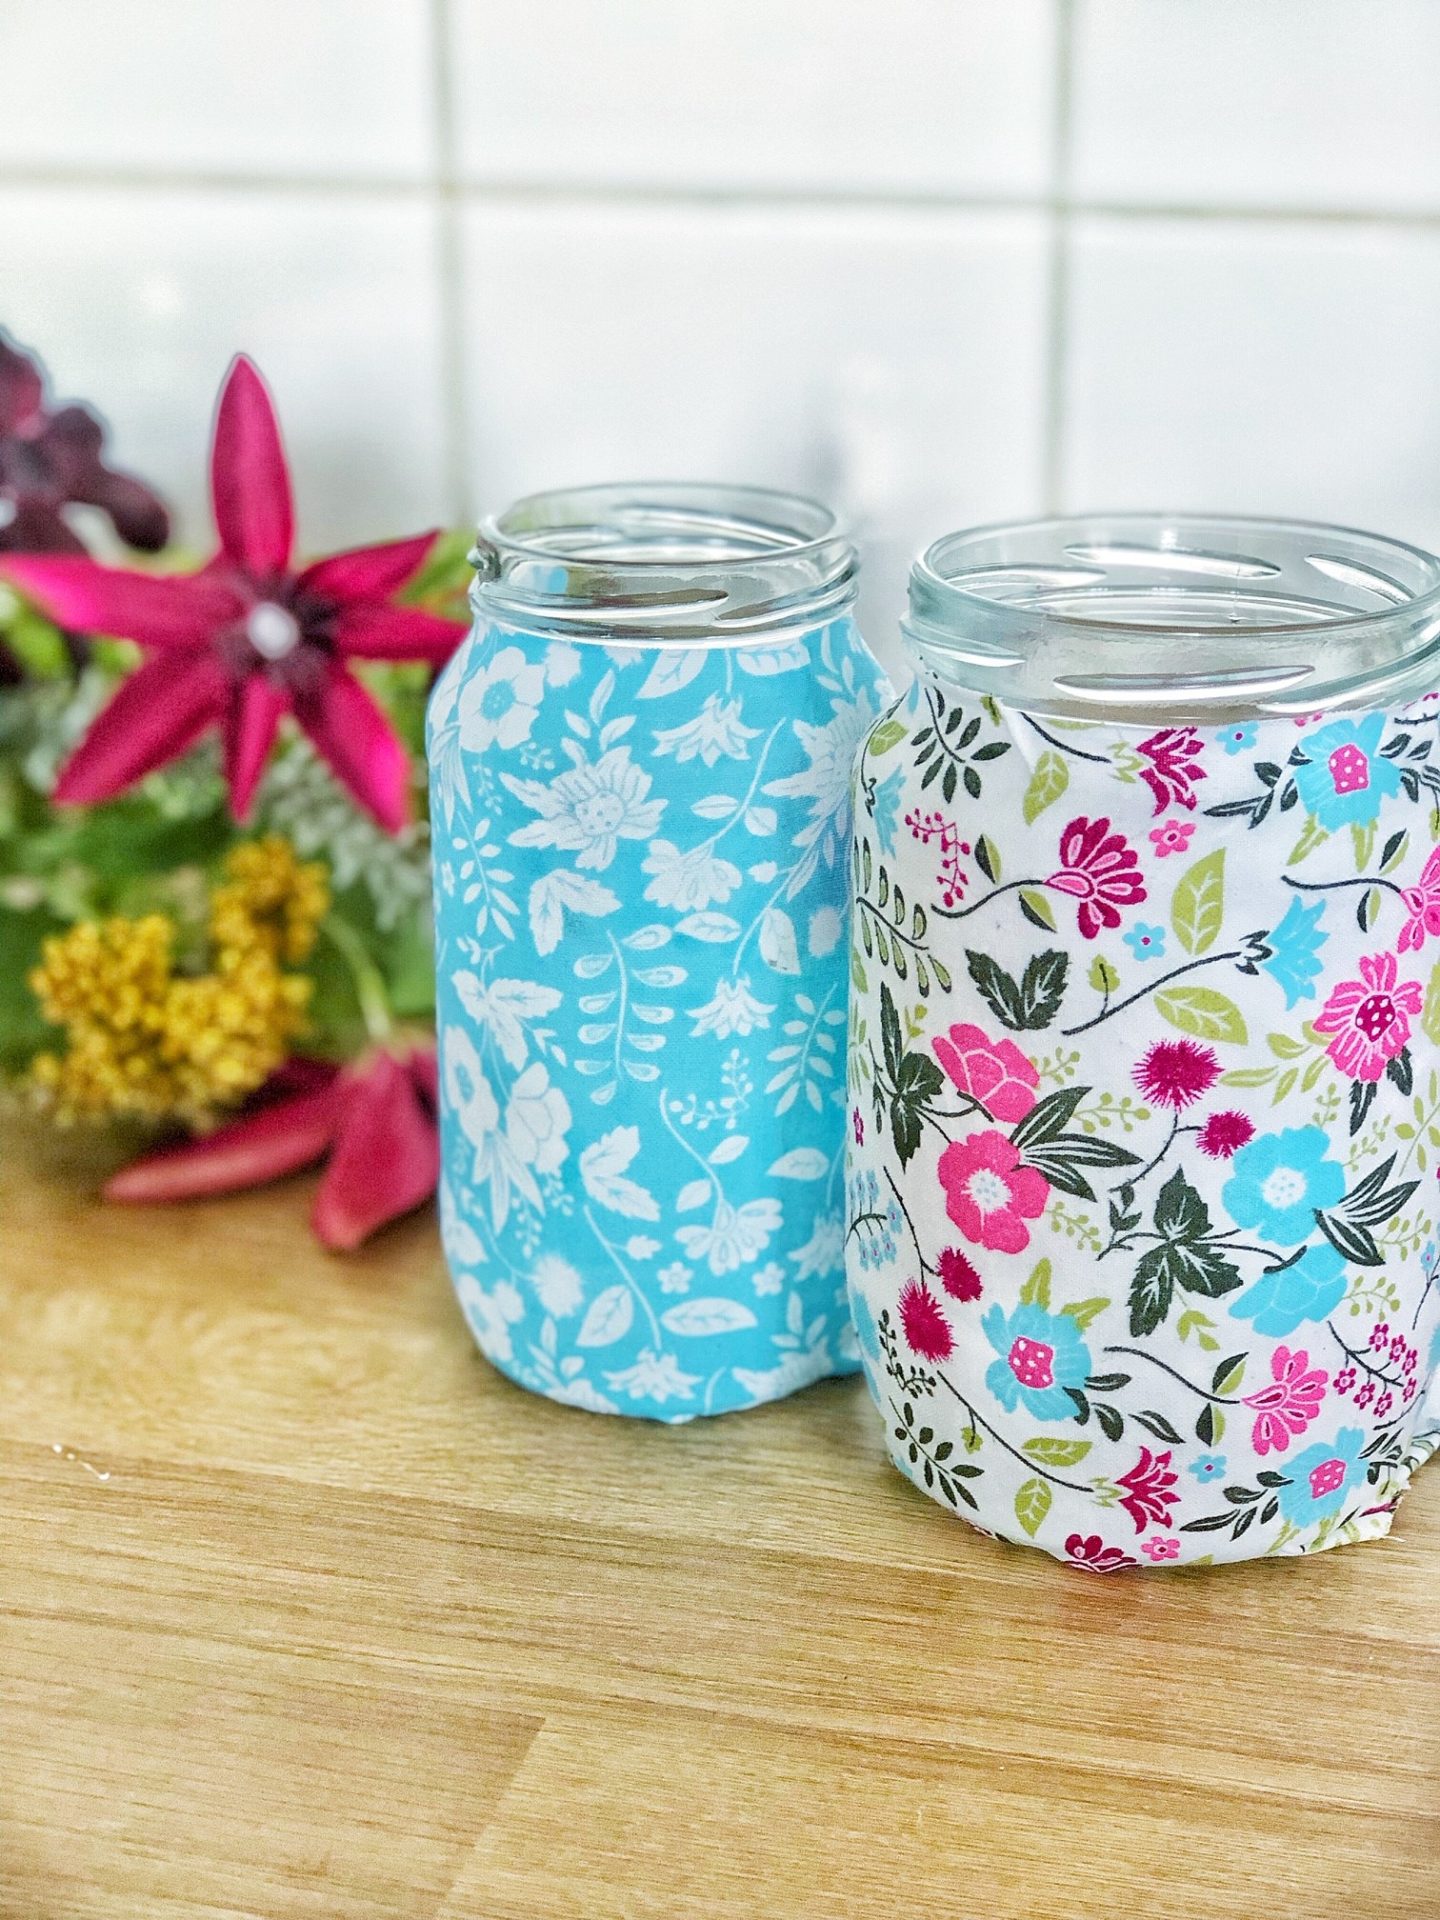
I love these pretty little jars. I initially came across the idea on pinterest but I didn’t really know how I would be able to do it as I am SO not crafty – but it was so easy. I even managed to get the kids involved!
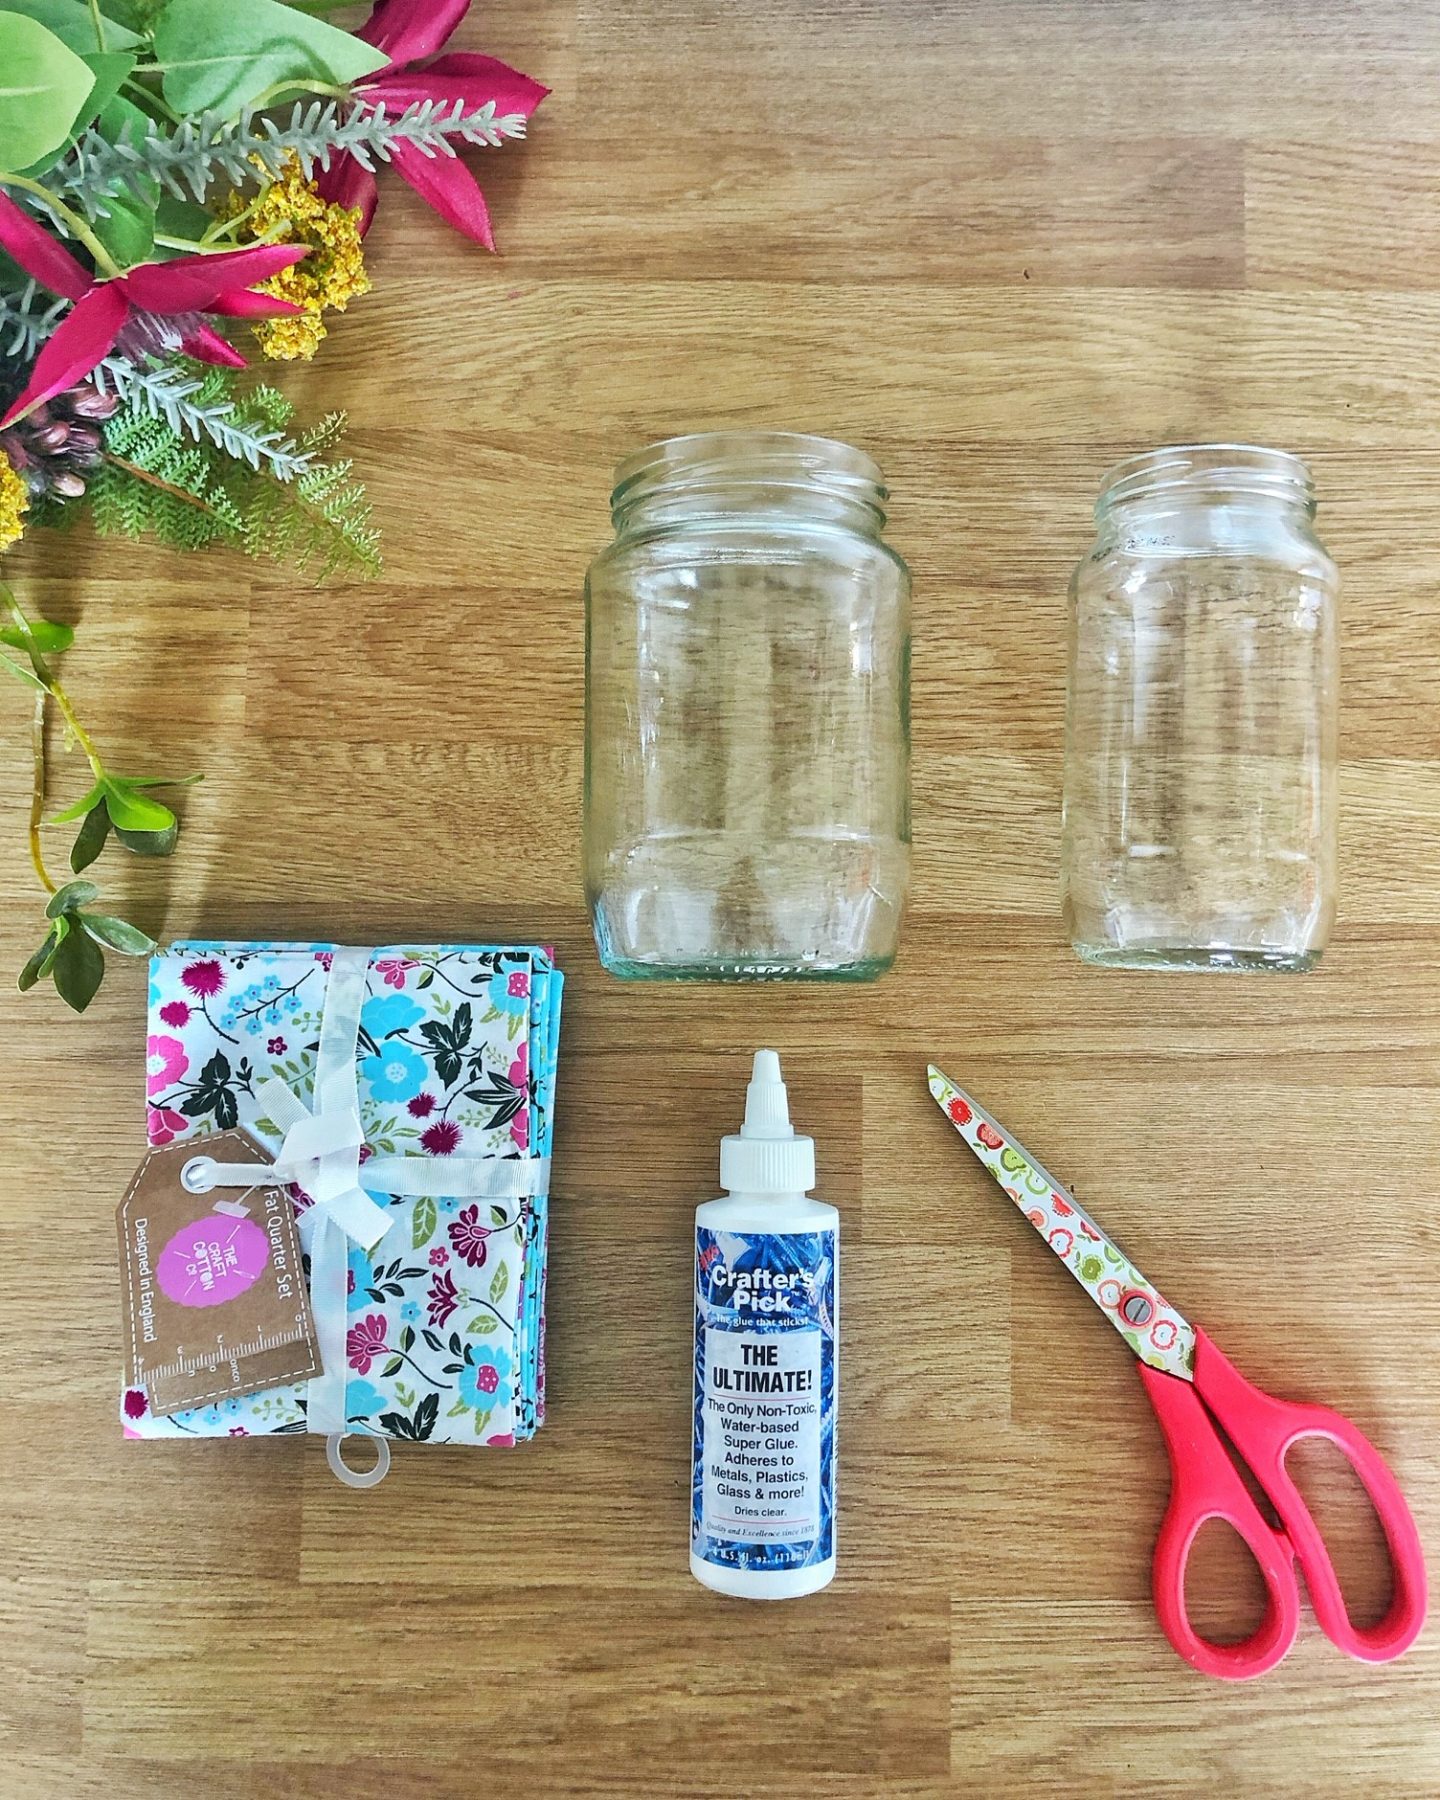
You will need:
- Fabric squares (usually come in packs of 4 and cost around £2-5
- A jar of your choice (I recommend a jam jar or larger (think Hellmans mayo)
- Scissors and pencil
- Glue
- Faux flowers
Make sure your jar is nice and clean, then line it up against your fabric square with the jar on it’s side.
Leave a little inch lip at the bottom of the fabric bellow the jar then make a little mark as you roll the jar along until you have rolled the jar all the way along to ensure you will cover the whole thing.
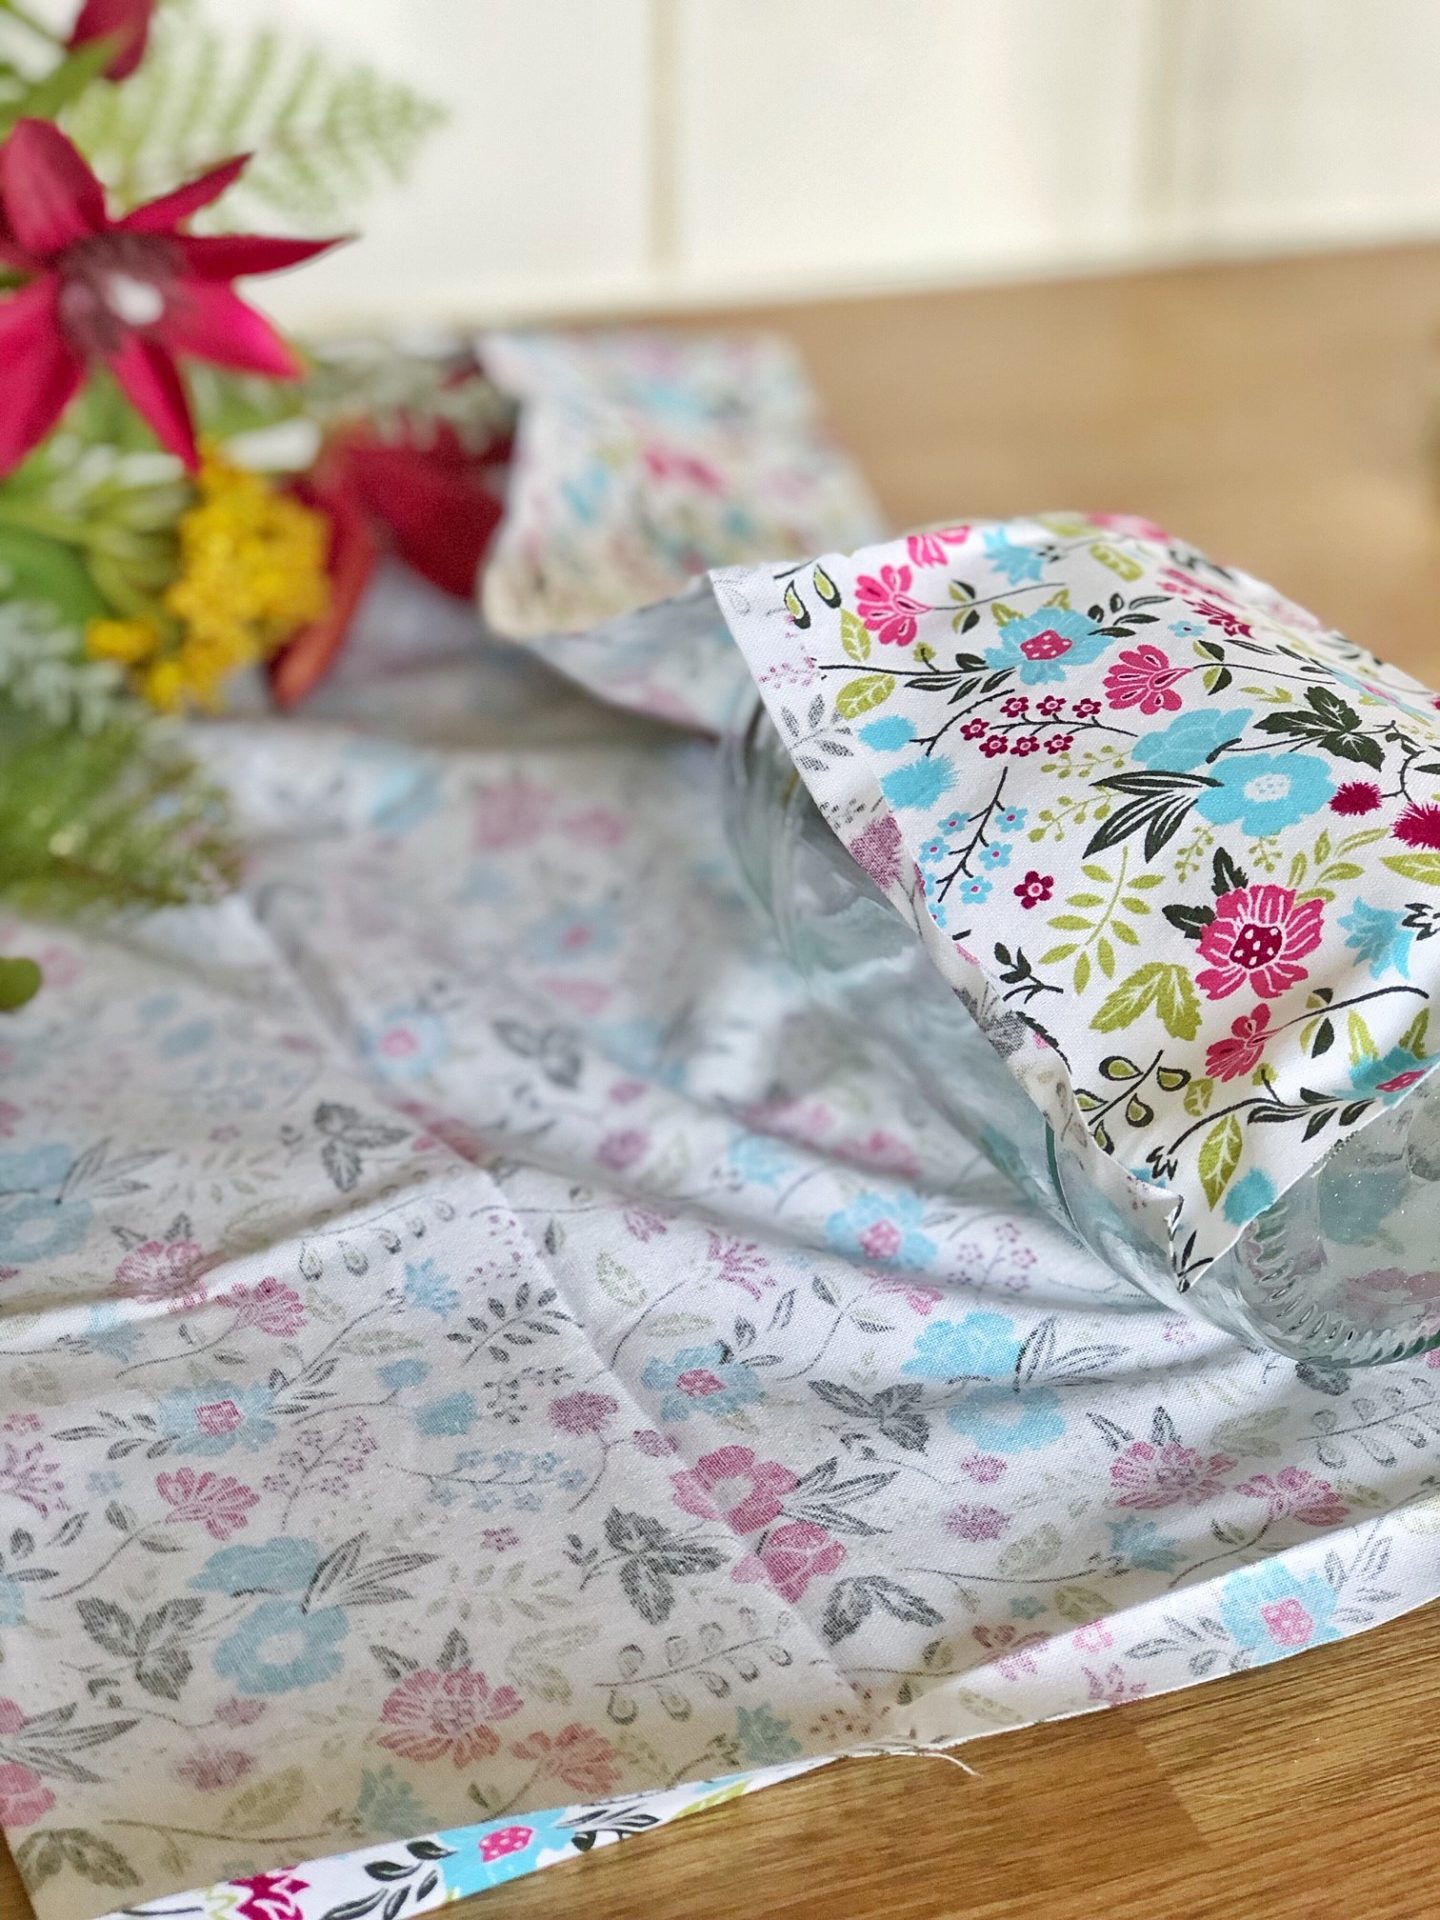
Cut your fabric out and then glue onto the jar (if you’re doing this with a glue gun, it’s not one for the kids, but you could use PVA glue, just get them to spread it on whilst you cut the fabric – its so easy and nothing beats crafting with glue when you’re little right?!) and then leave to dry completely.
Add your faux flowers and congratulate yourself on your crafting prowess.
DIY doggy biscuit Jar
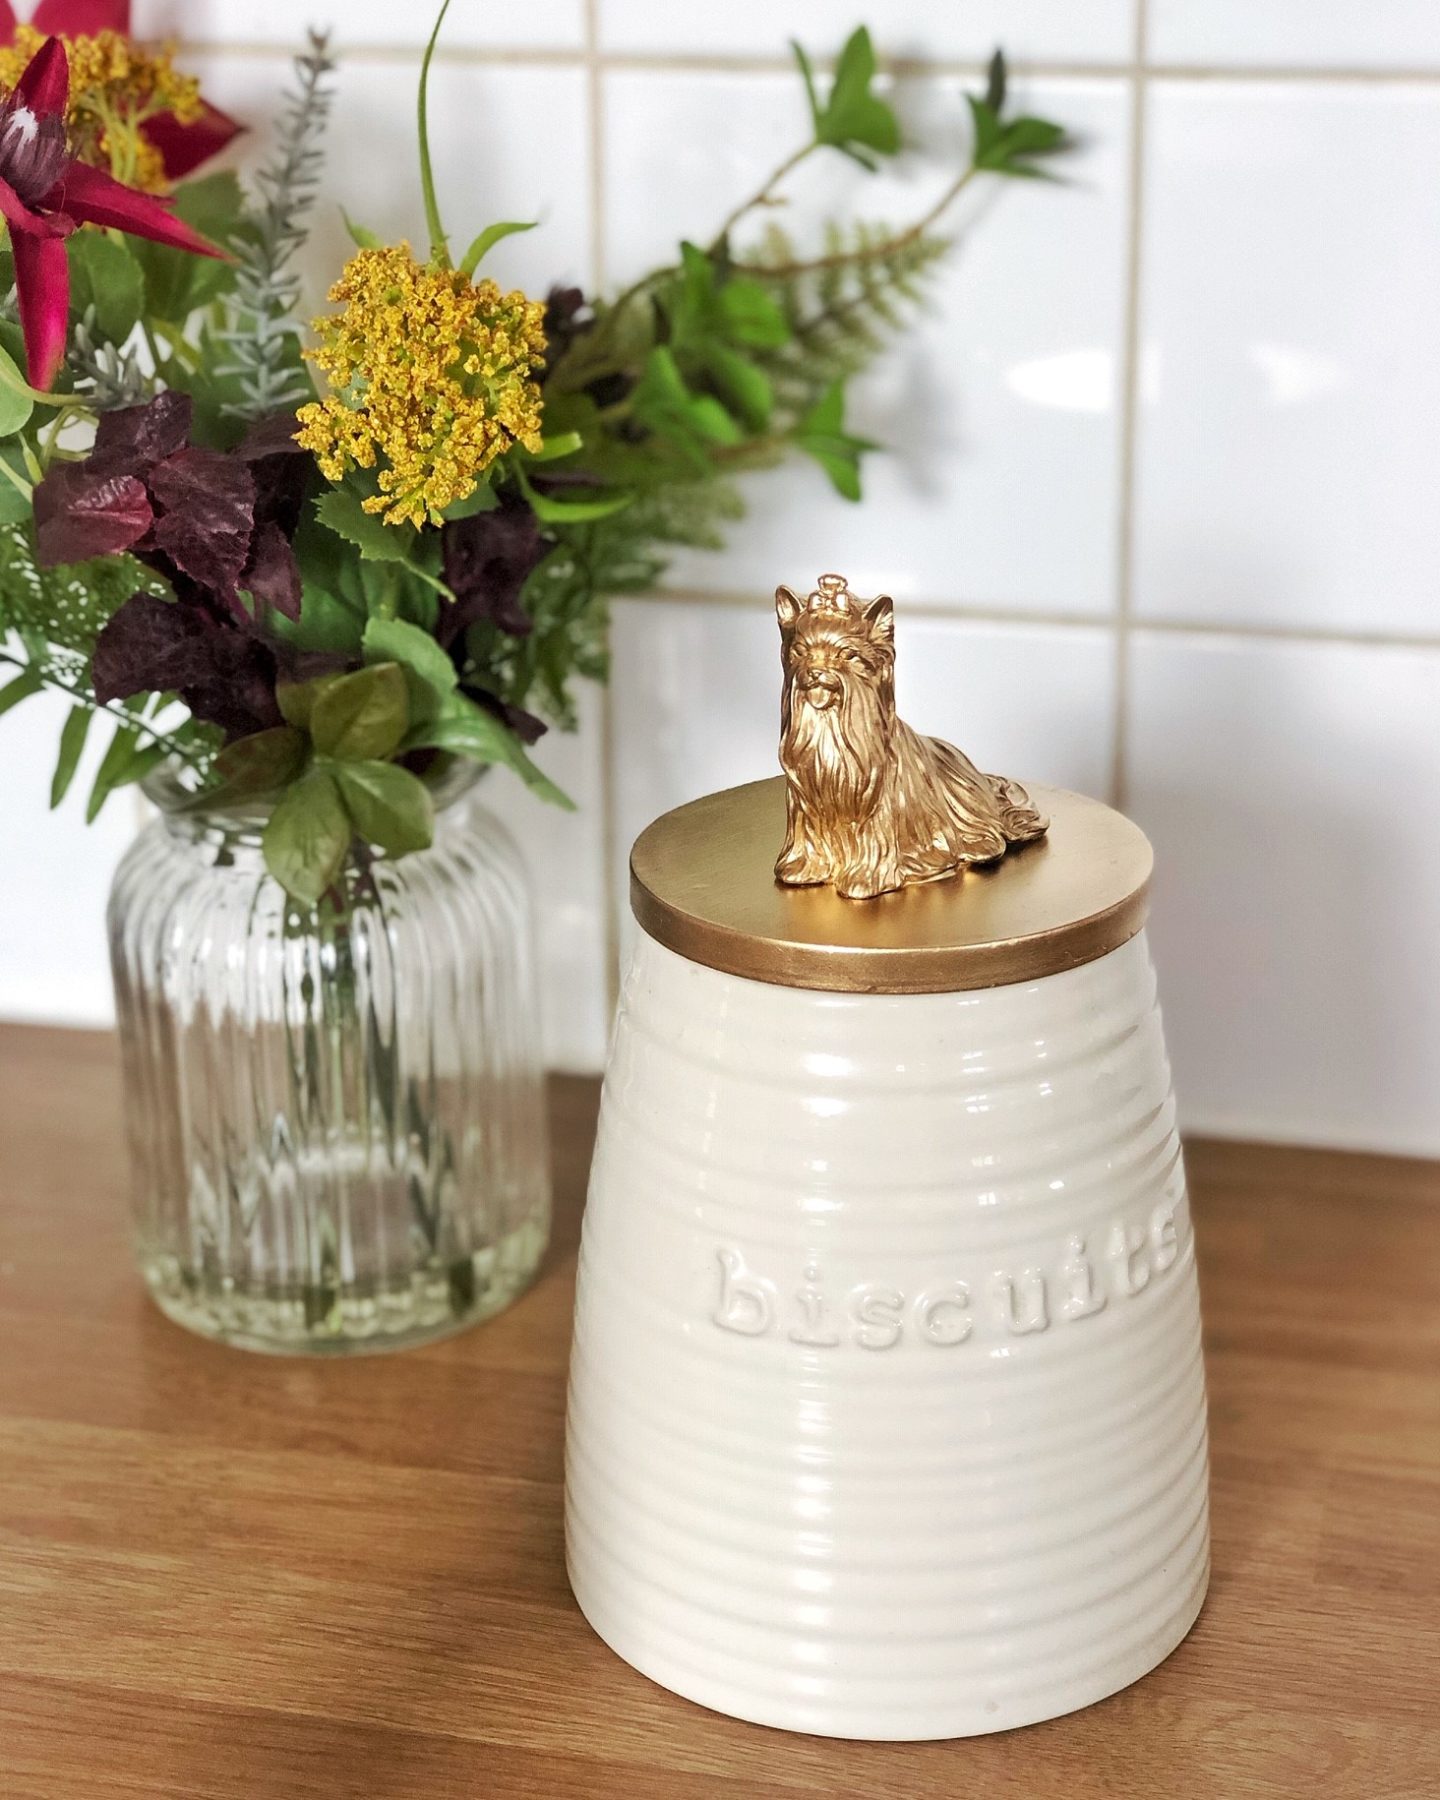
So you know that bigger jar that you were going to throw out ? Well STOP! Why not reuse it and turn it into a dog biscuit jar? I mean if you don’t have a dog then that’s a pretty solid reason to not bother BUT if you do then you could have loads of fun with an old plastic toy! You could even turn it in a biscuit jar using some play food like a pineapple.
You will need:
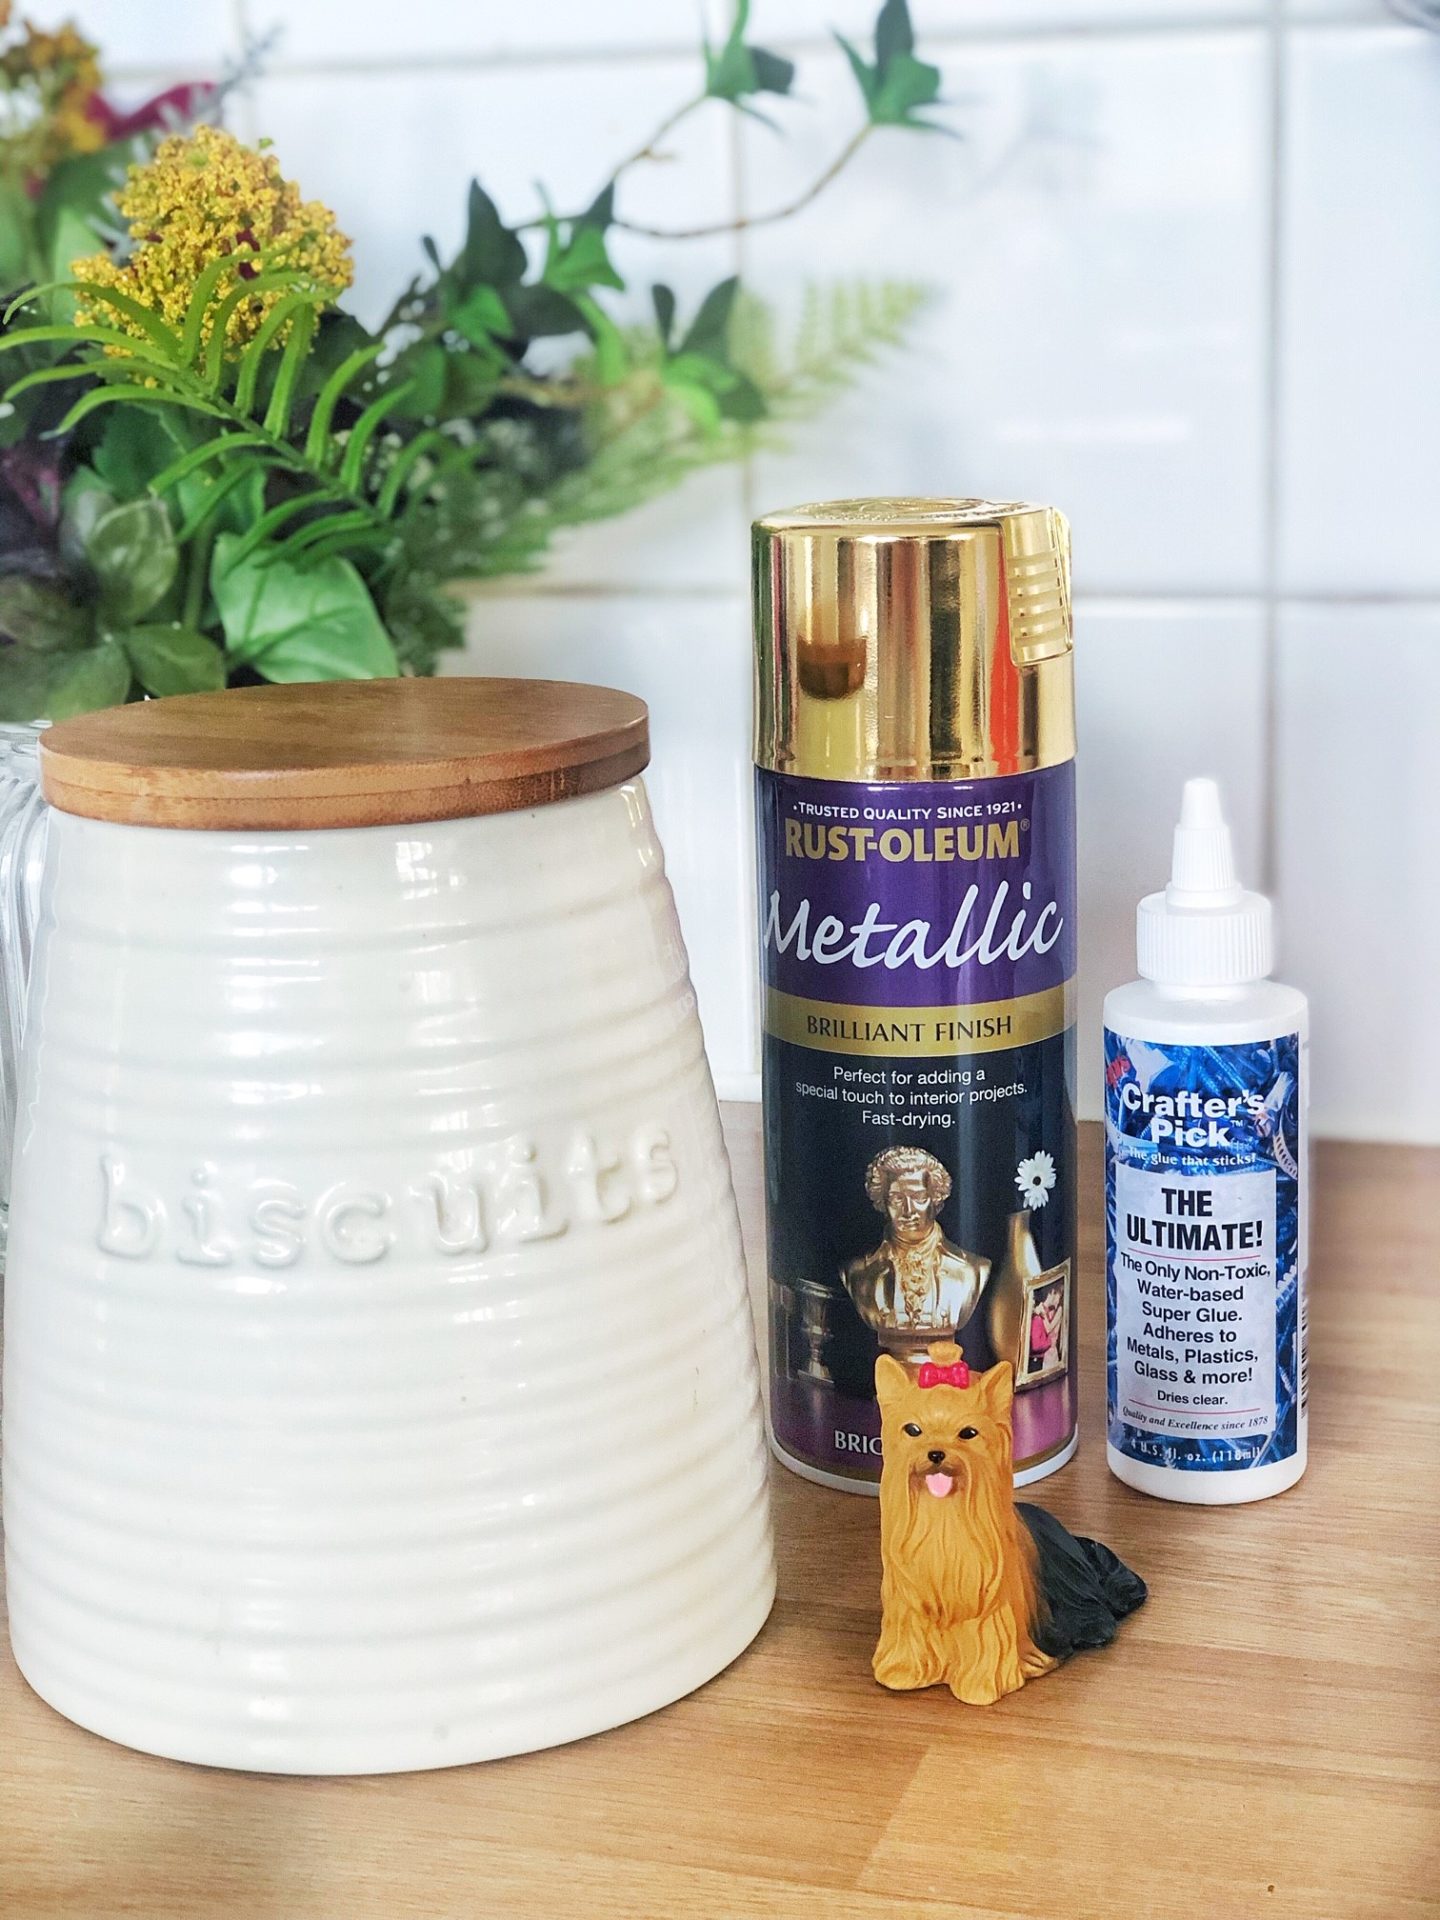
- Plastic dog figure toy that your child doesn’t want anymore (or you could buy one…)
- Larger jar that you aren’t in need of OR an old biscuit tin
- Glue gun or super glue
- Spray paint (optional)
- Sticky label (for the jar only)
This is soooo simple.
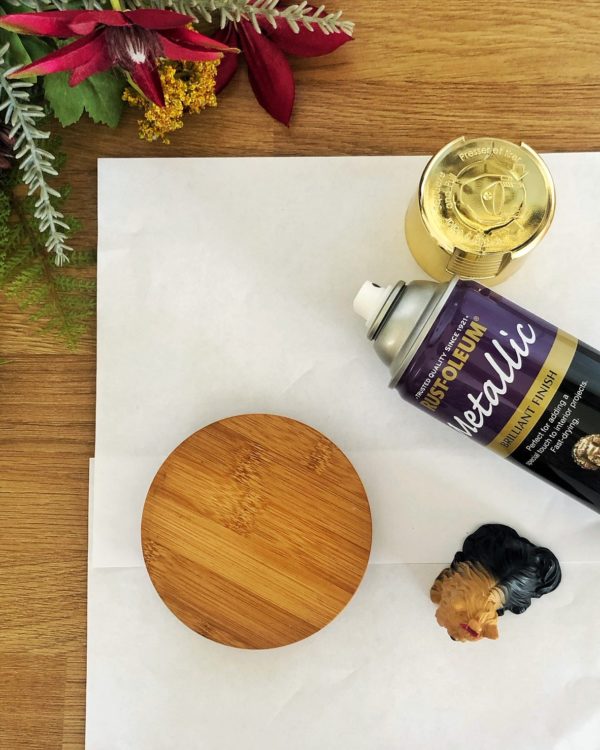
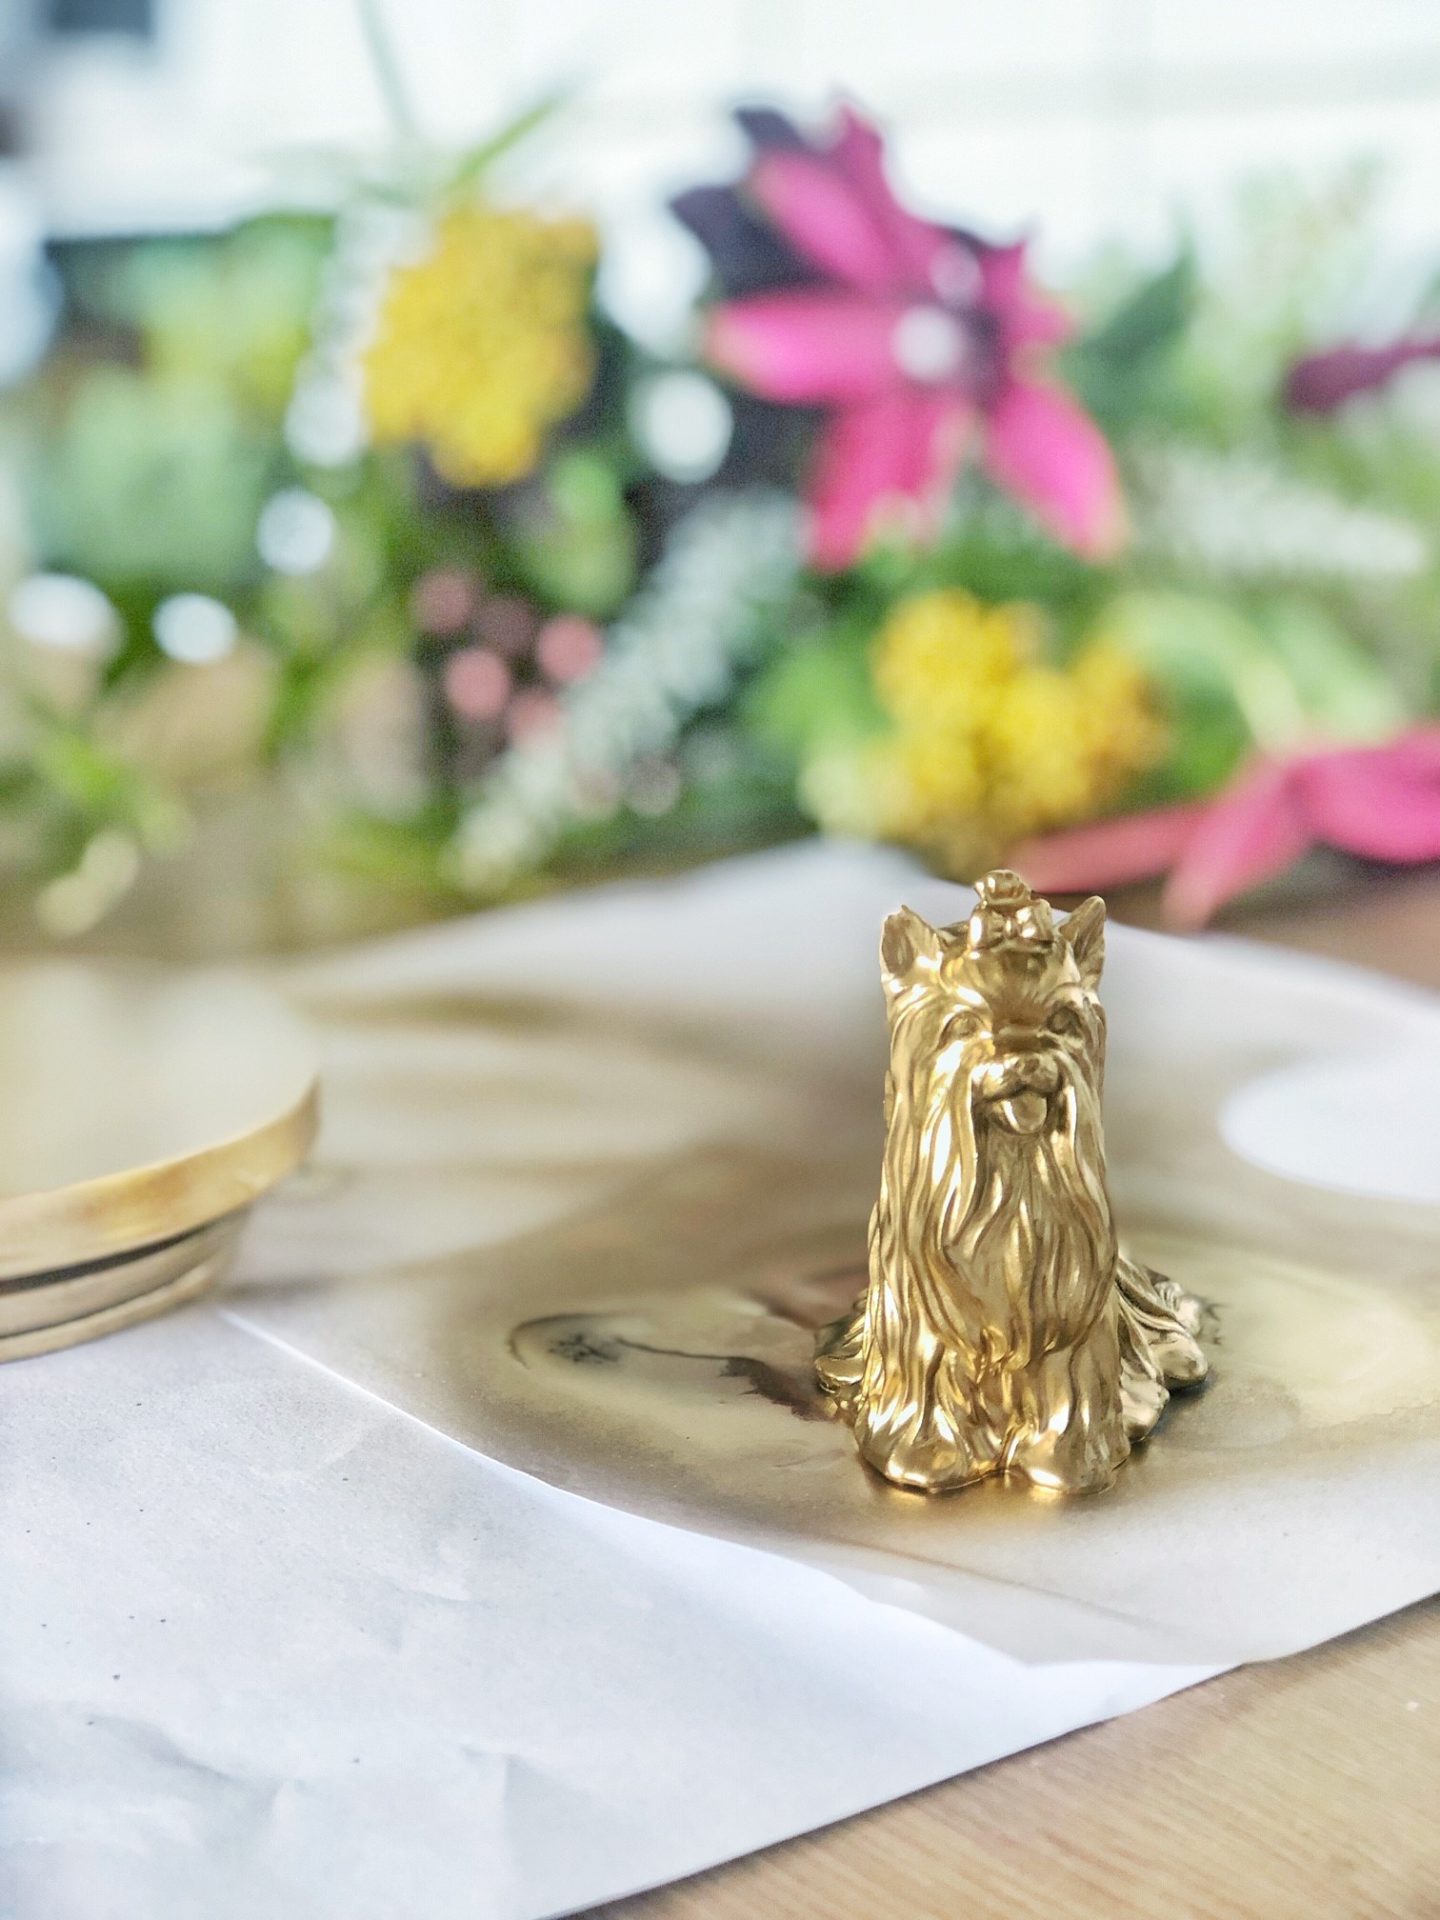
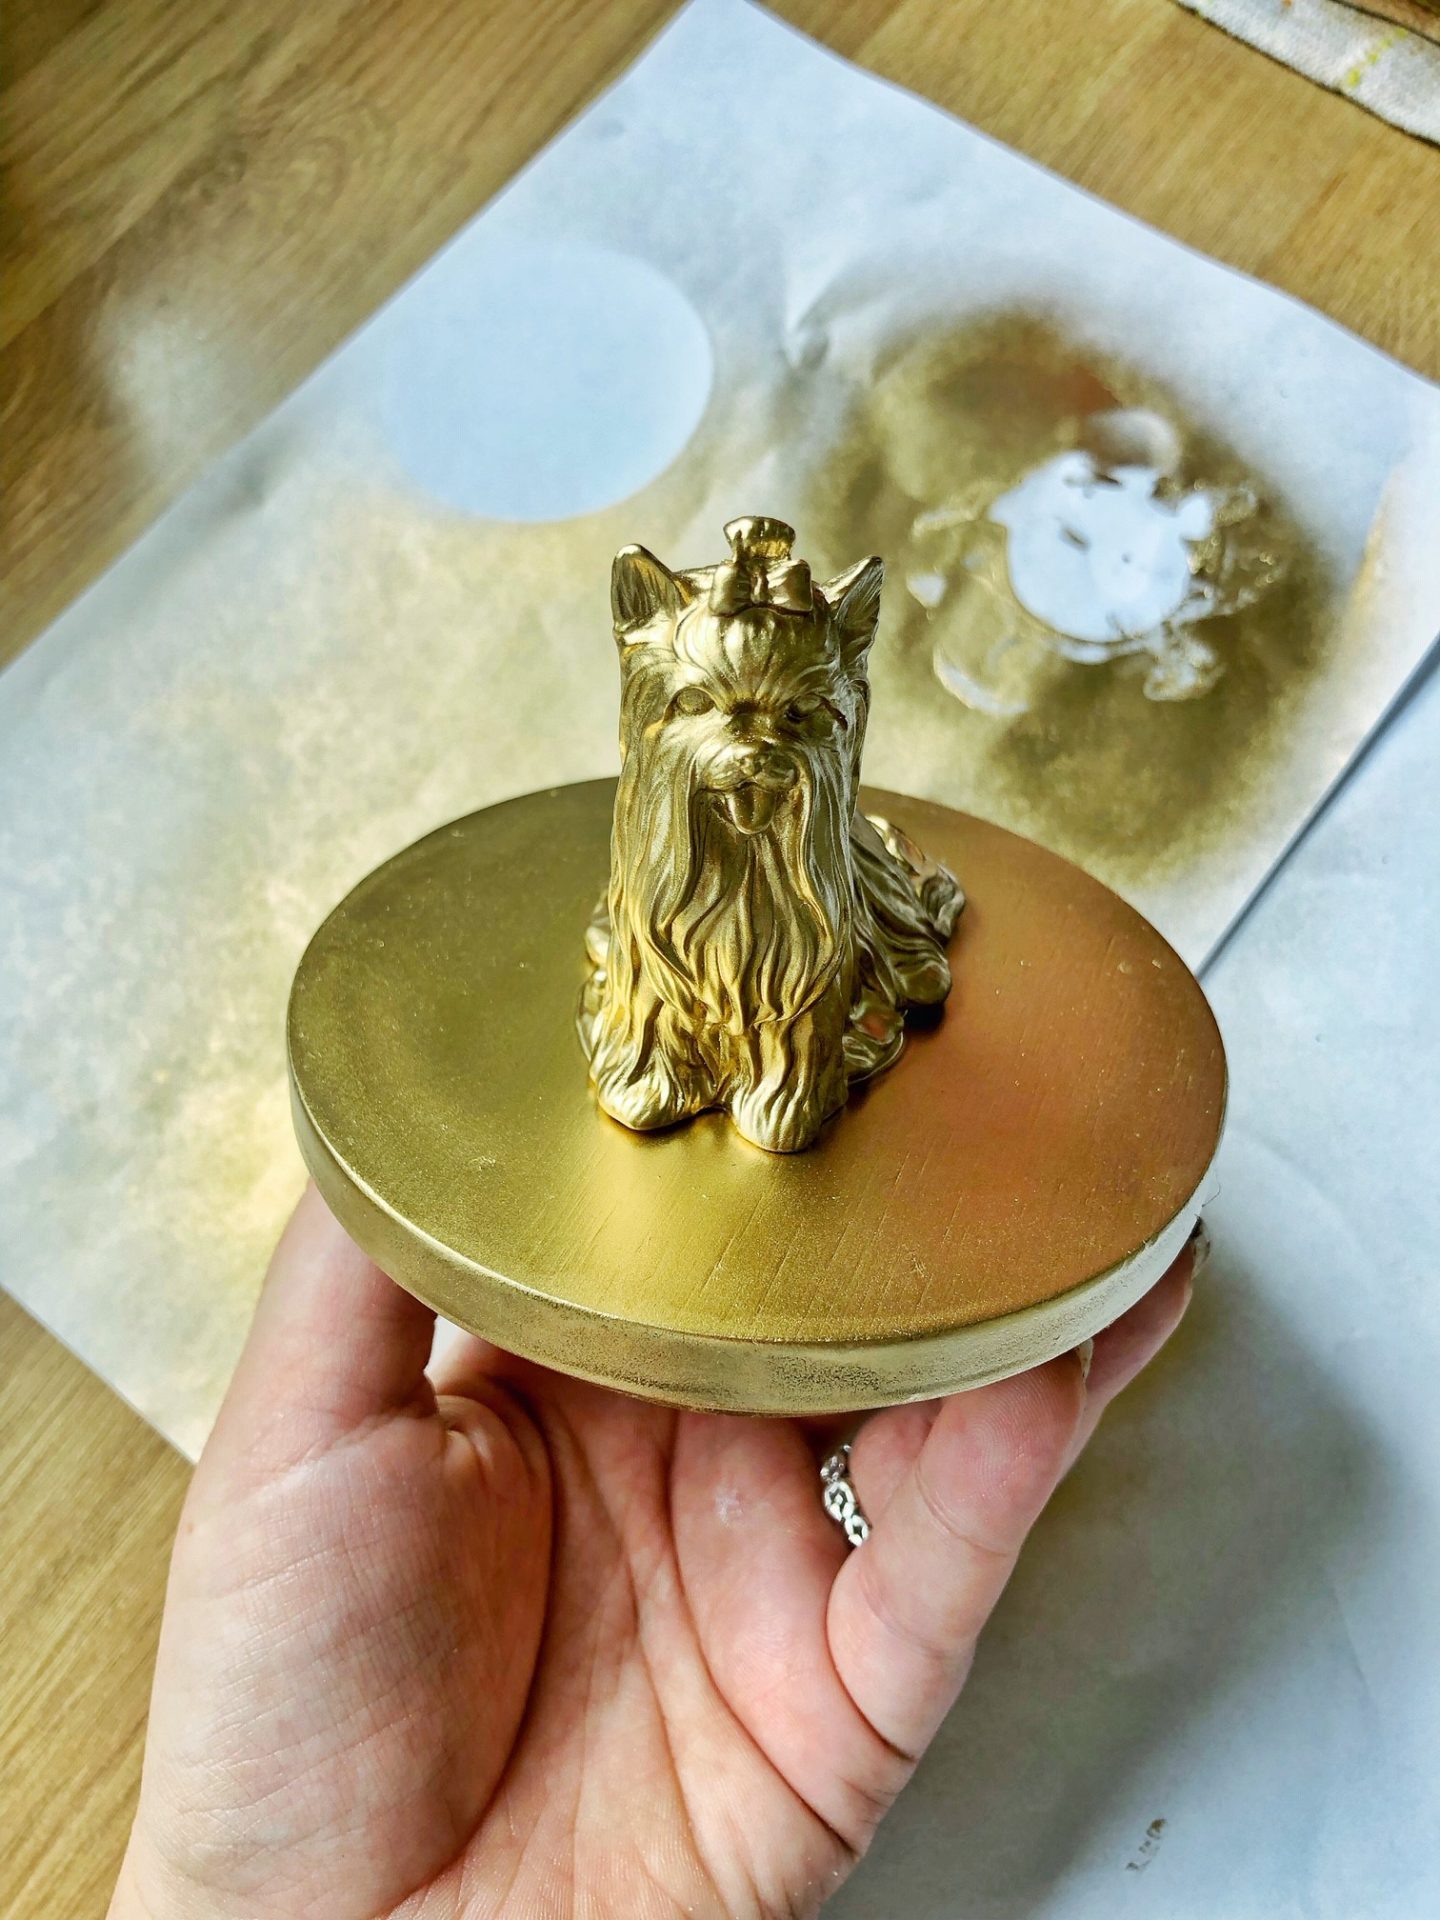
Take the lid of your jar or old biscuit tin. Make sure it’s clean and dry. Take the dog figure, spray paint it and the lid of the tin. If you’re getting the kids involved in this bit then I would advise a little fume mask and gloves, or you could do this bit and get them to do the next step…
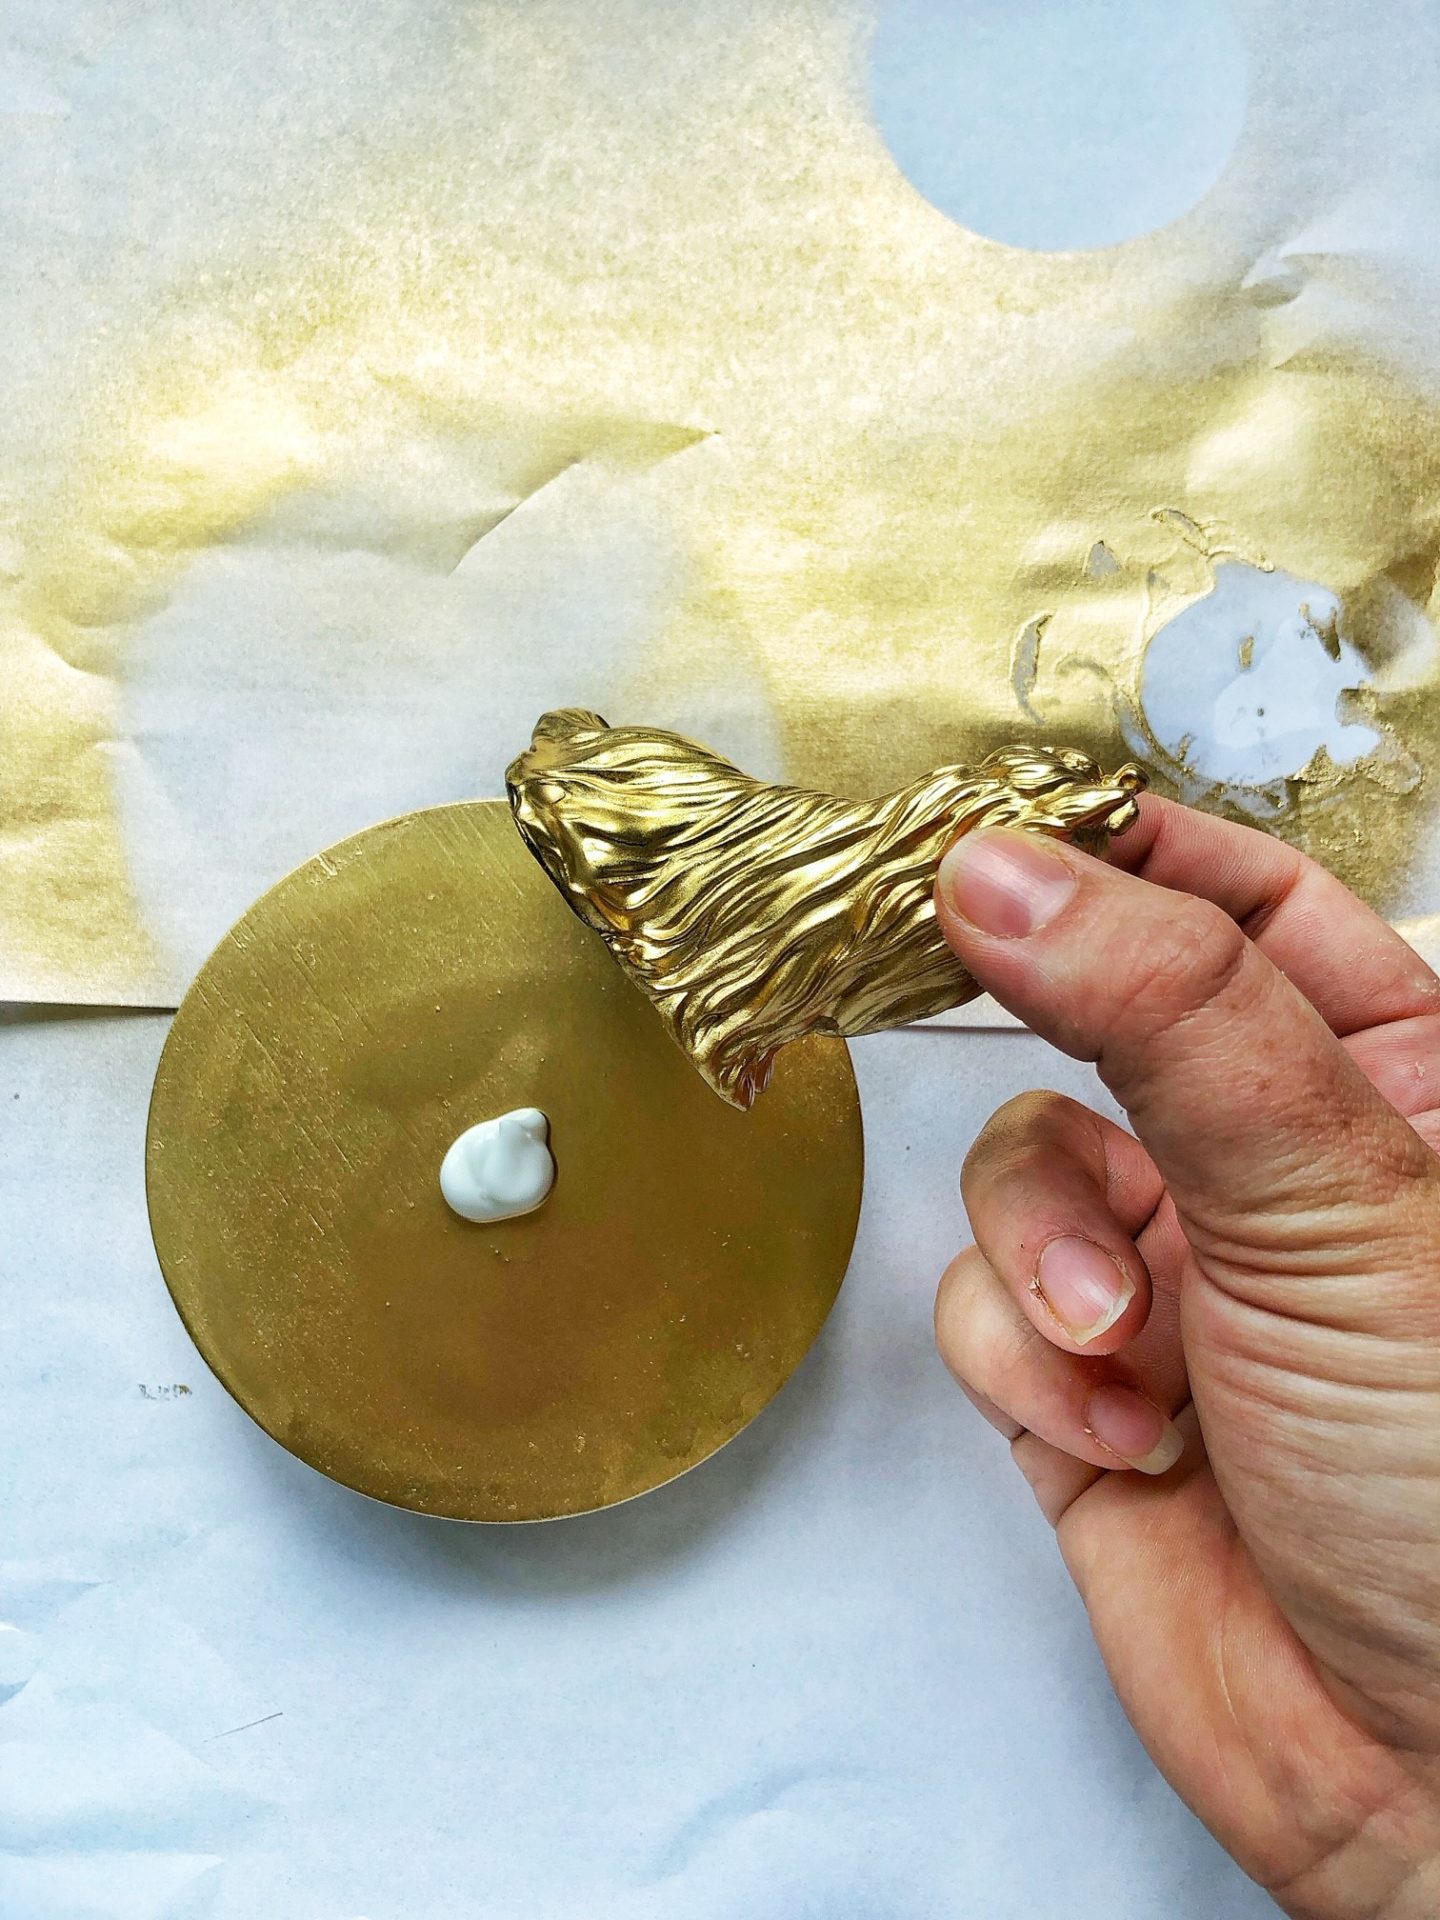
Glue it on. Let it dry. Voila! No really, I’m not kidding that is it. If you want to you can label a jar, but if you went with a biscuit tin the dog is BIGGGGG hint that it’s dog biscuits.
I know it sounds a bit too simple but sometimes (especially with kids) simple is best and it just makes for a little fun.
Cake tin art
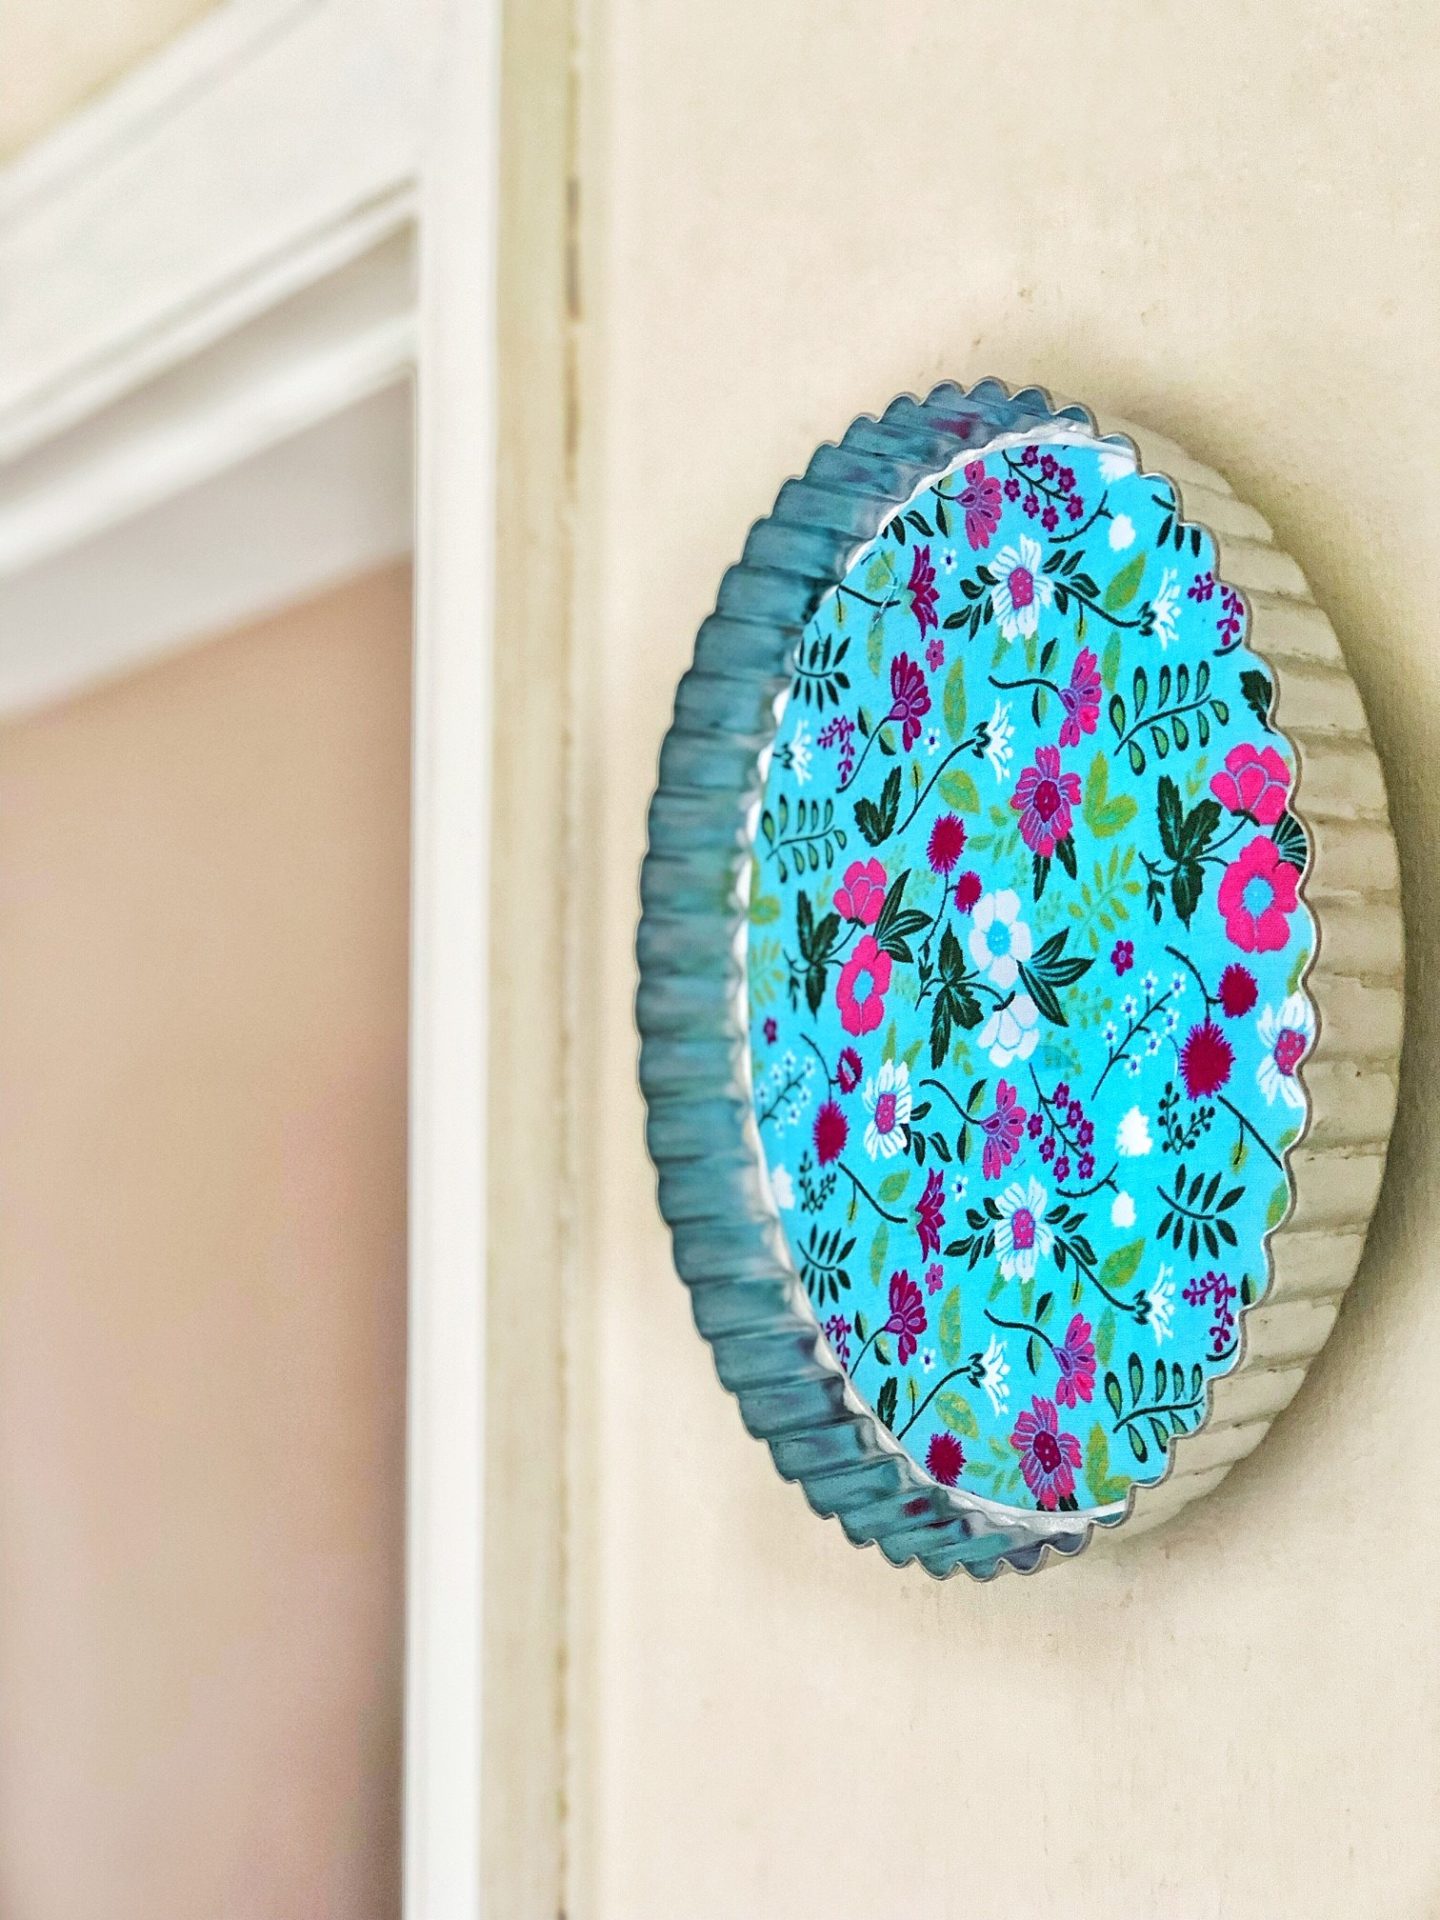
Another idea I found on Pinterest that I think is ACE. I love the concept and I’m here for a bit of unusual art.
You will need:
- Cake tins (flan tins work best for this as they are a bit frilly and they look slightly fancier on the wall. The only thing I would strongly recommend you avoid is a deep pan or a snap lock tin – not a good idea.
- Art work, fabric OR (curve ball) old recipe writings – I saw this on pinterest and I LOVE the idea, my mum wouldn’t be down with me chopping up her old recipes but if you have ancient ones from great great grandparents that are almost illegible and you have re-written, what a lovely way to keep them in the kitchen with you.
- Pencil and scissors
- Glue
Super simple (again… I’m not a crafter!)
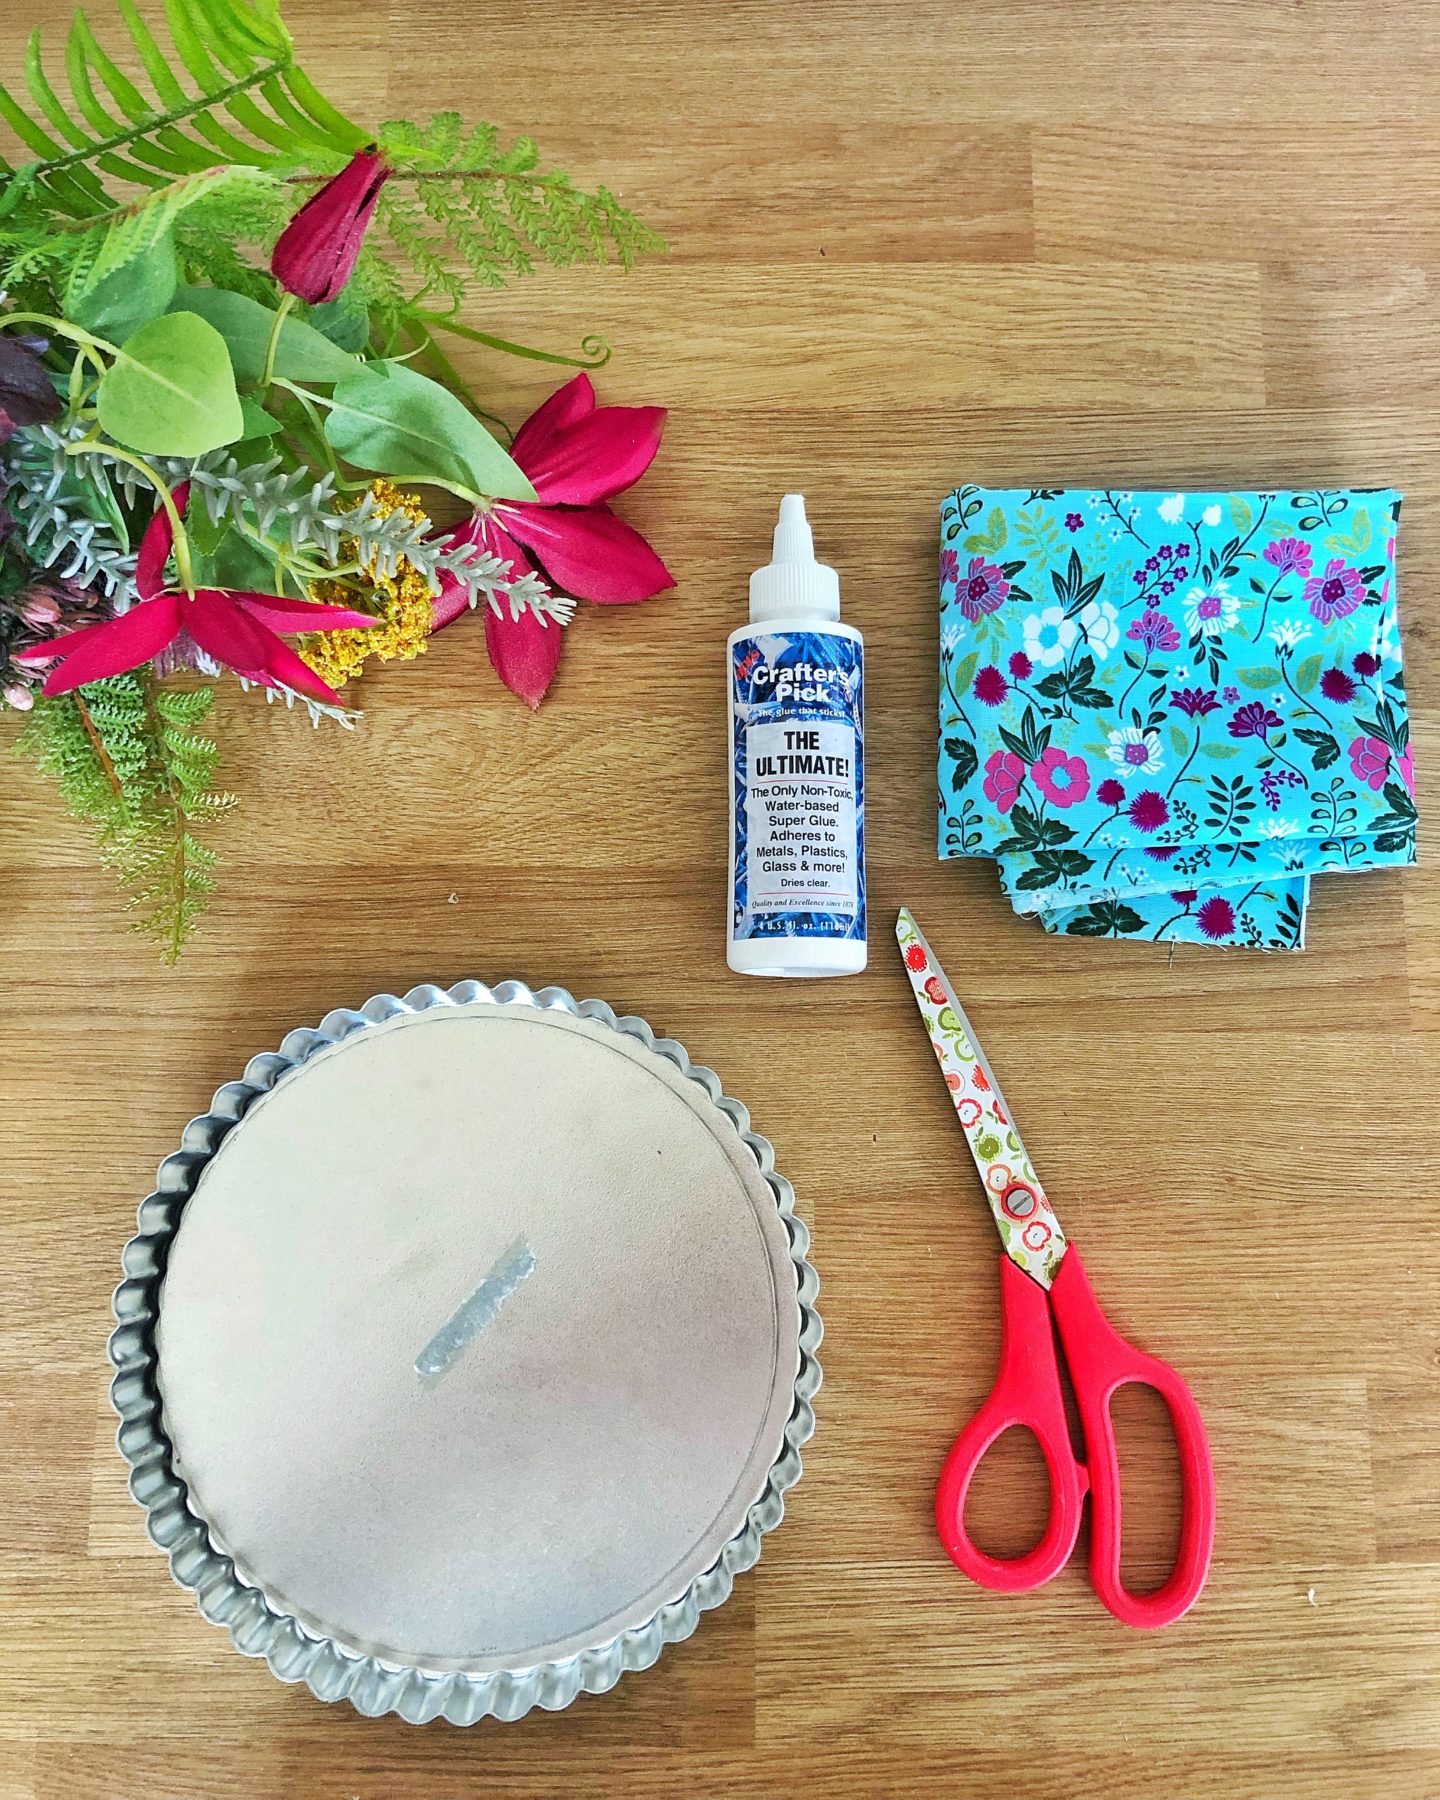
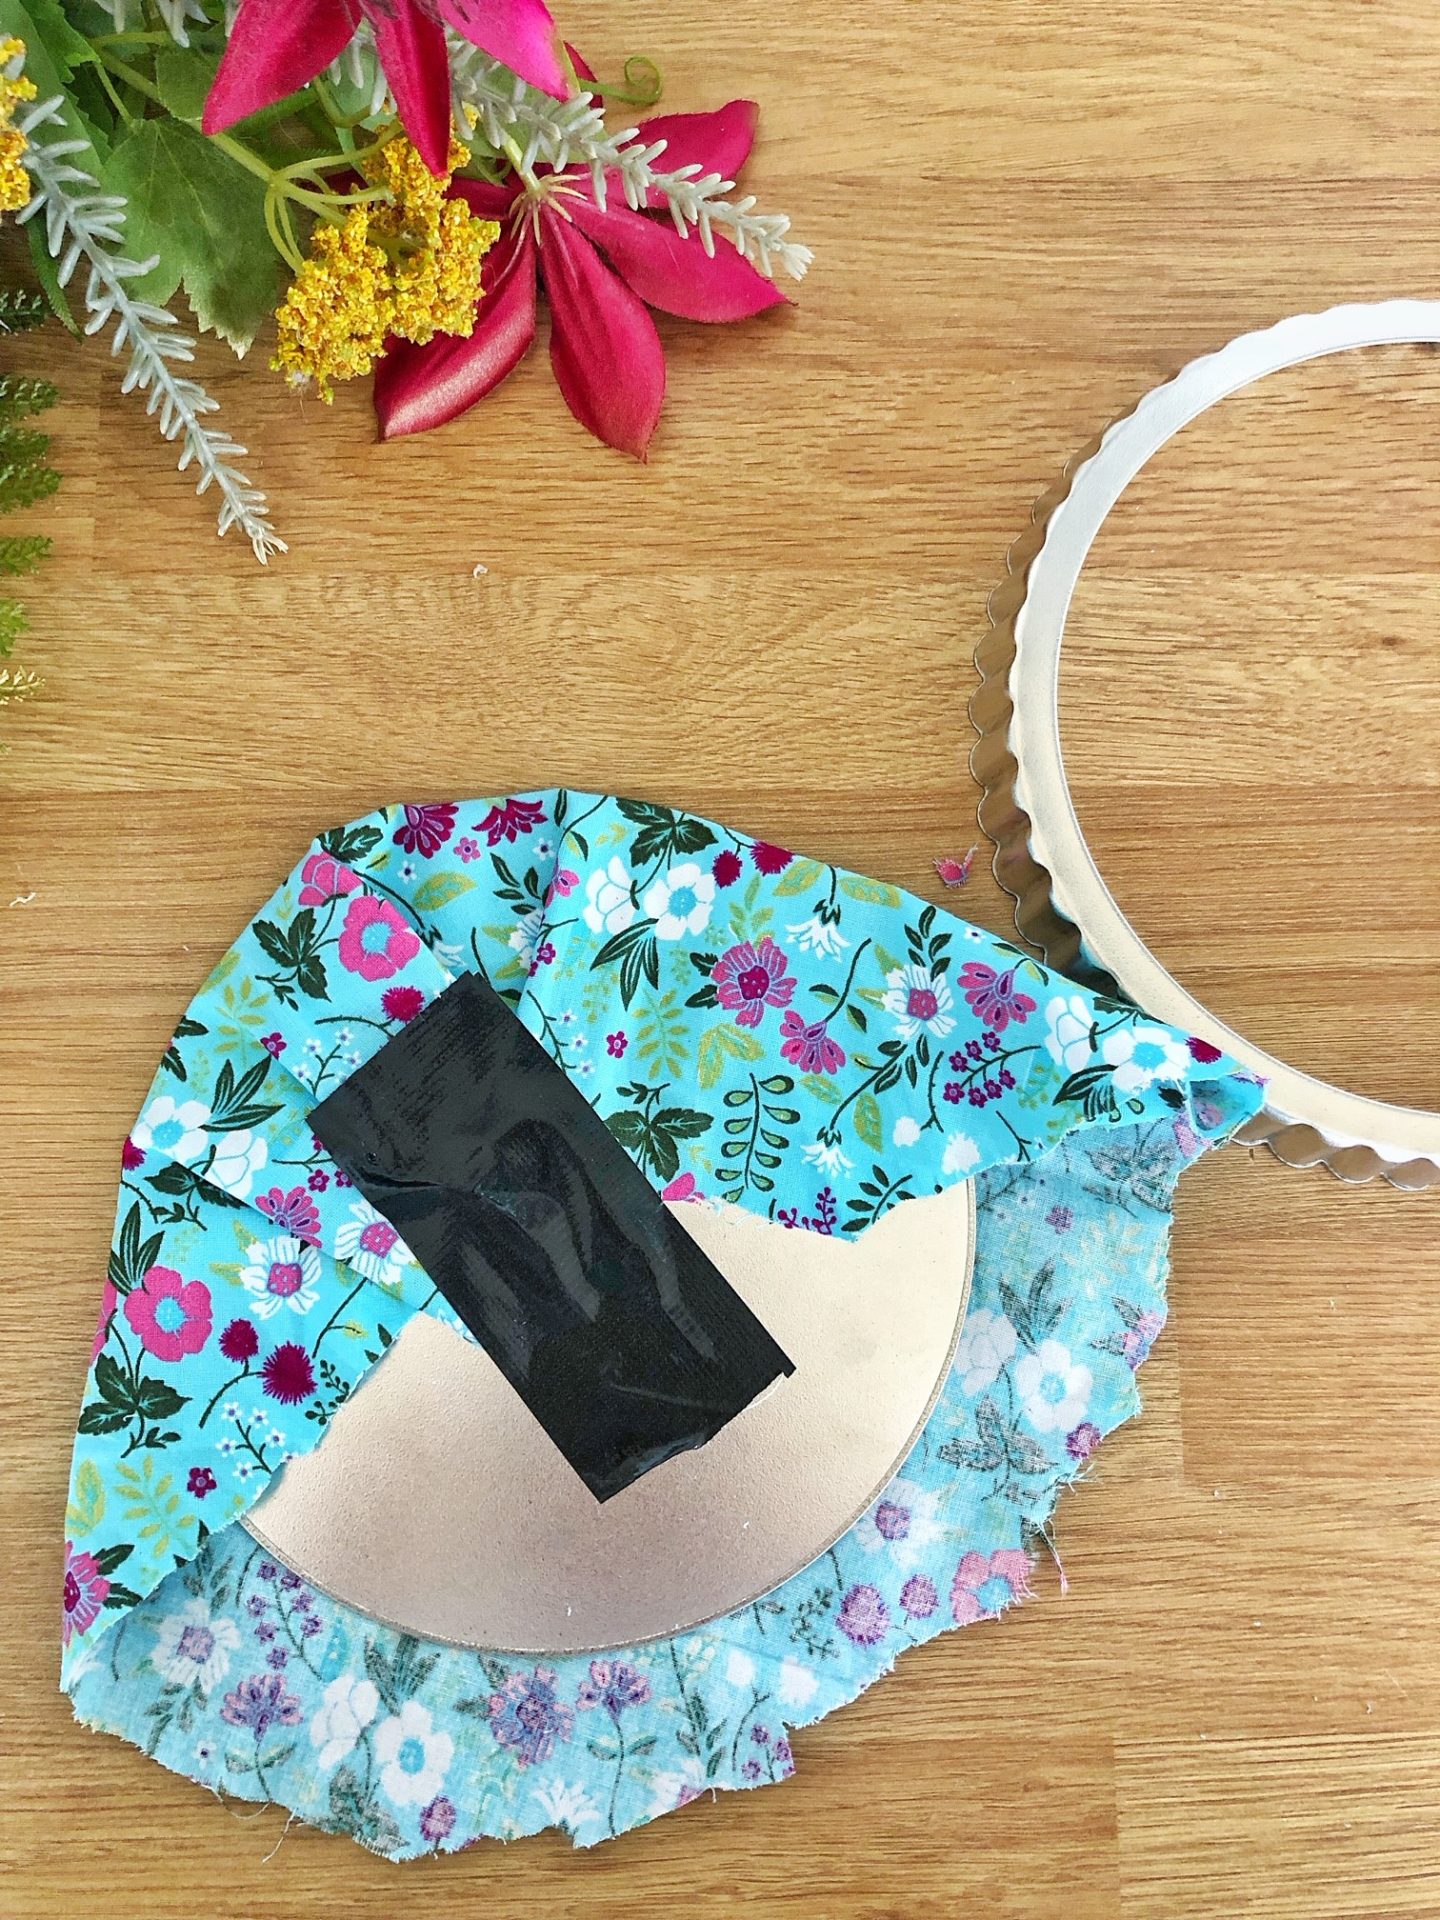
Place your flan tin (or whatever tin tickled your pickle) on the artwork or fabric you are using as your art. I think it’s a lovely touch to get kids involved in this bit by letting them pick their fave artwork (if that is what you are going for). Draw around using the pencil and then cut out OR lay the bottom of the tin on the fabric and pull around the back (see image). If you precut the tape, get your children to secure it across the back. To be honest, this is so easy that older children could do it solo.
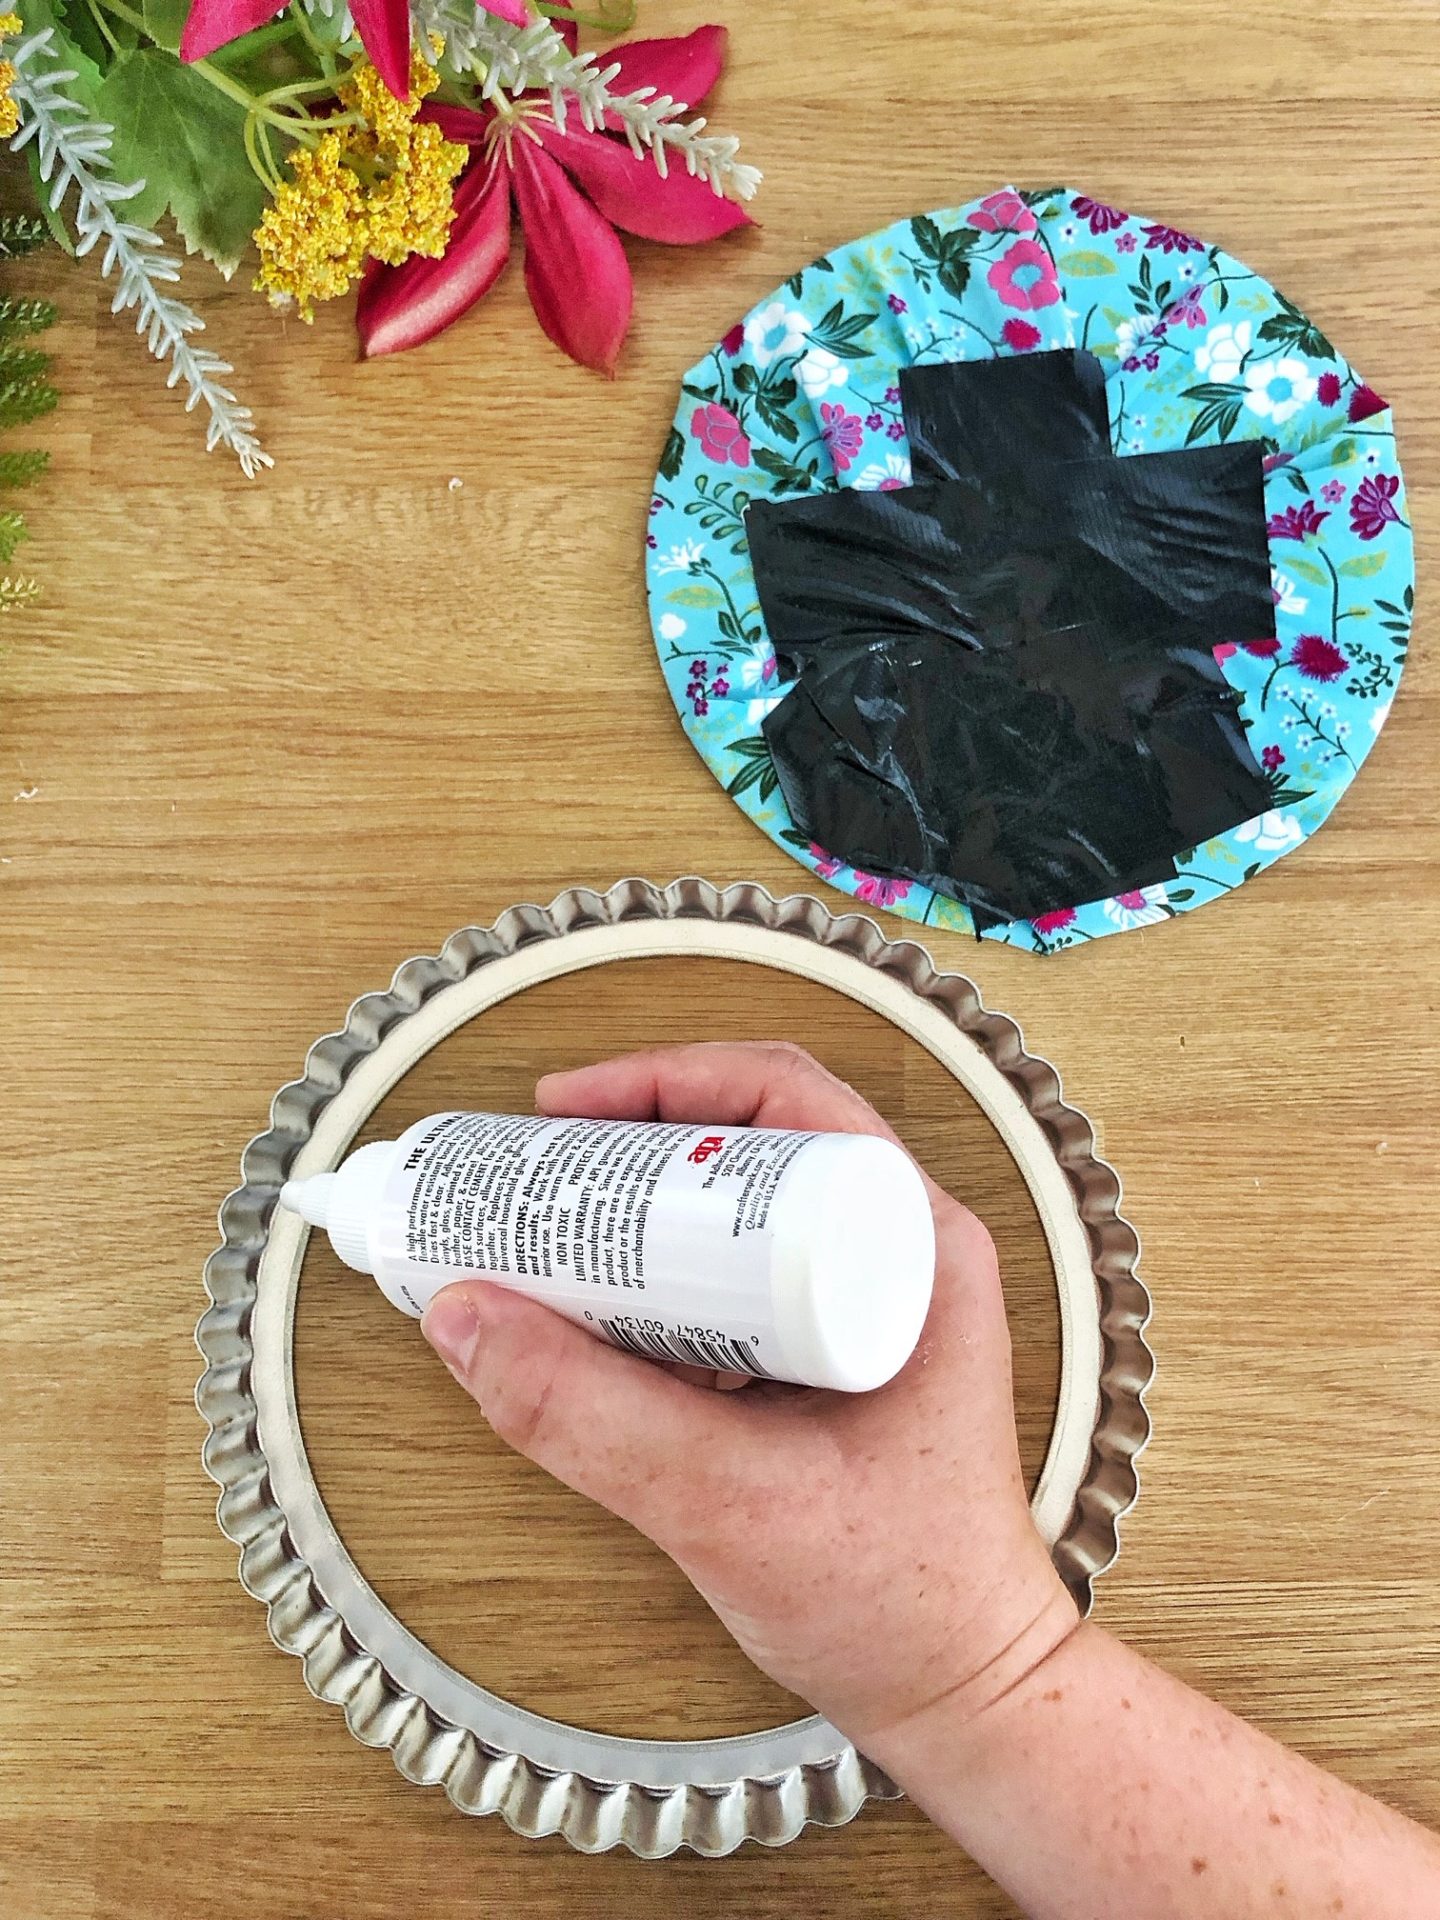
You might have to fiddle around a bit with the cutting when you come to pop it inside the pan, make sure it fits flush and then glue it down.
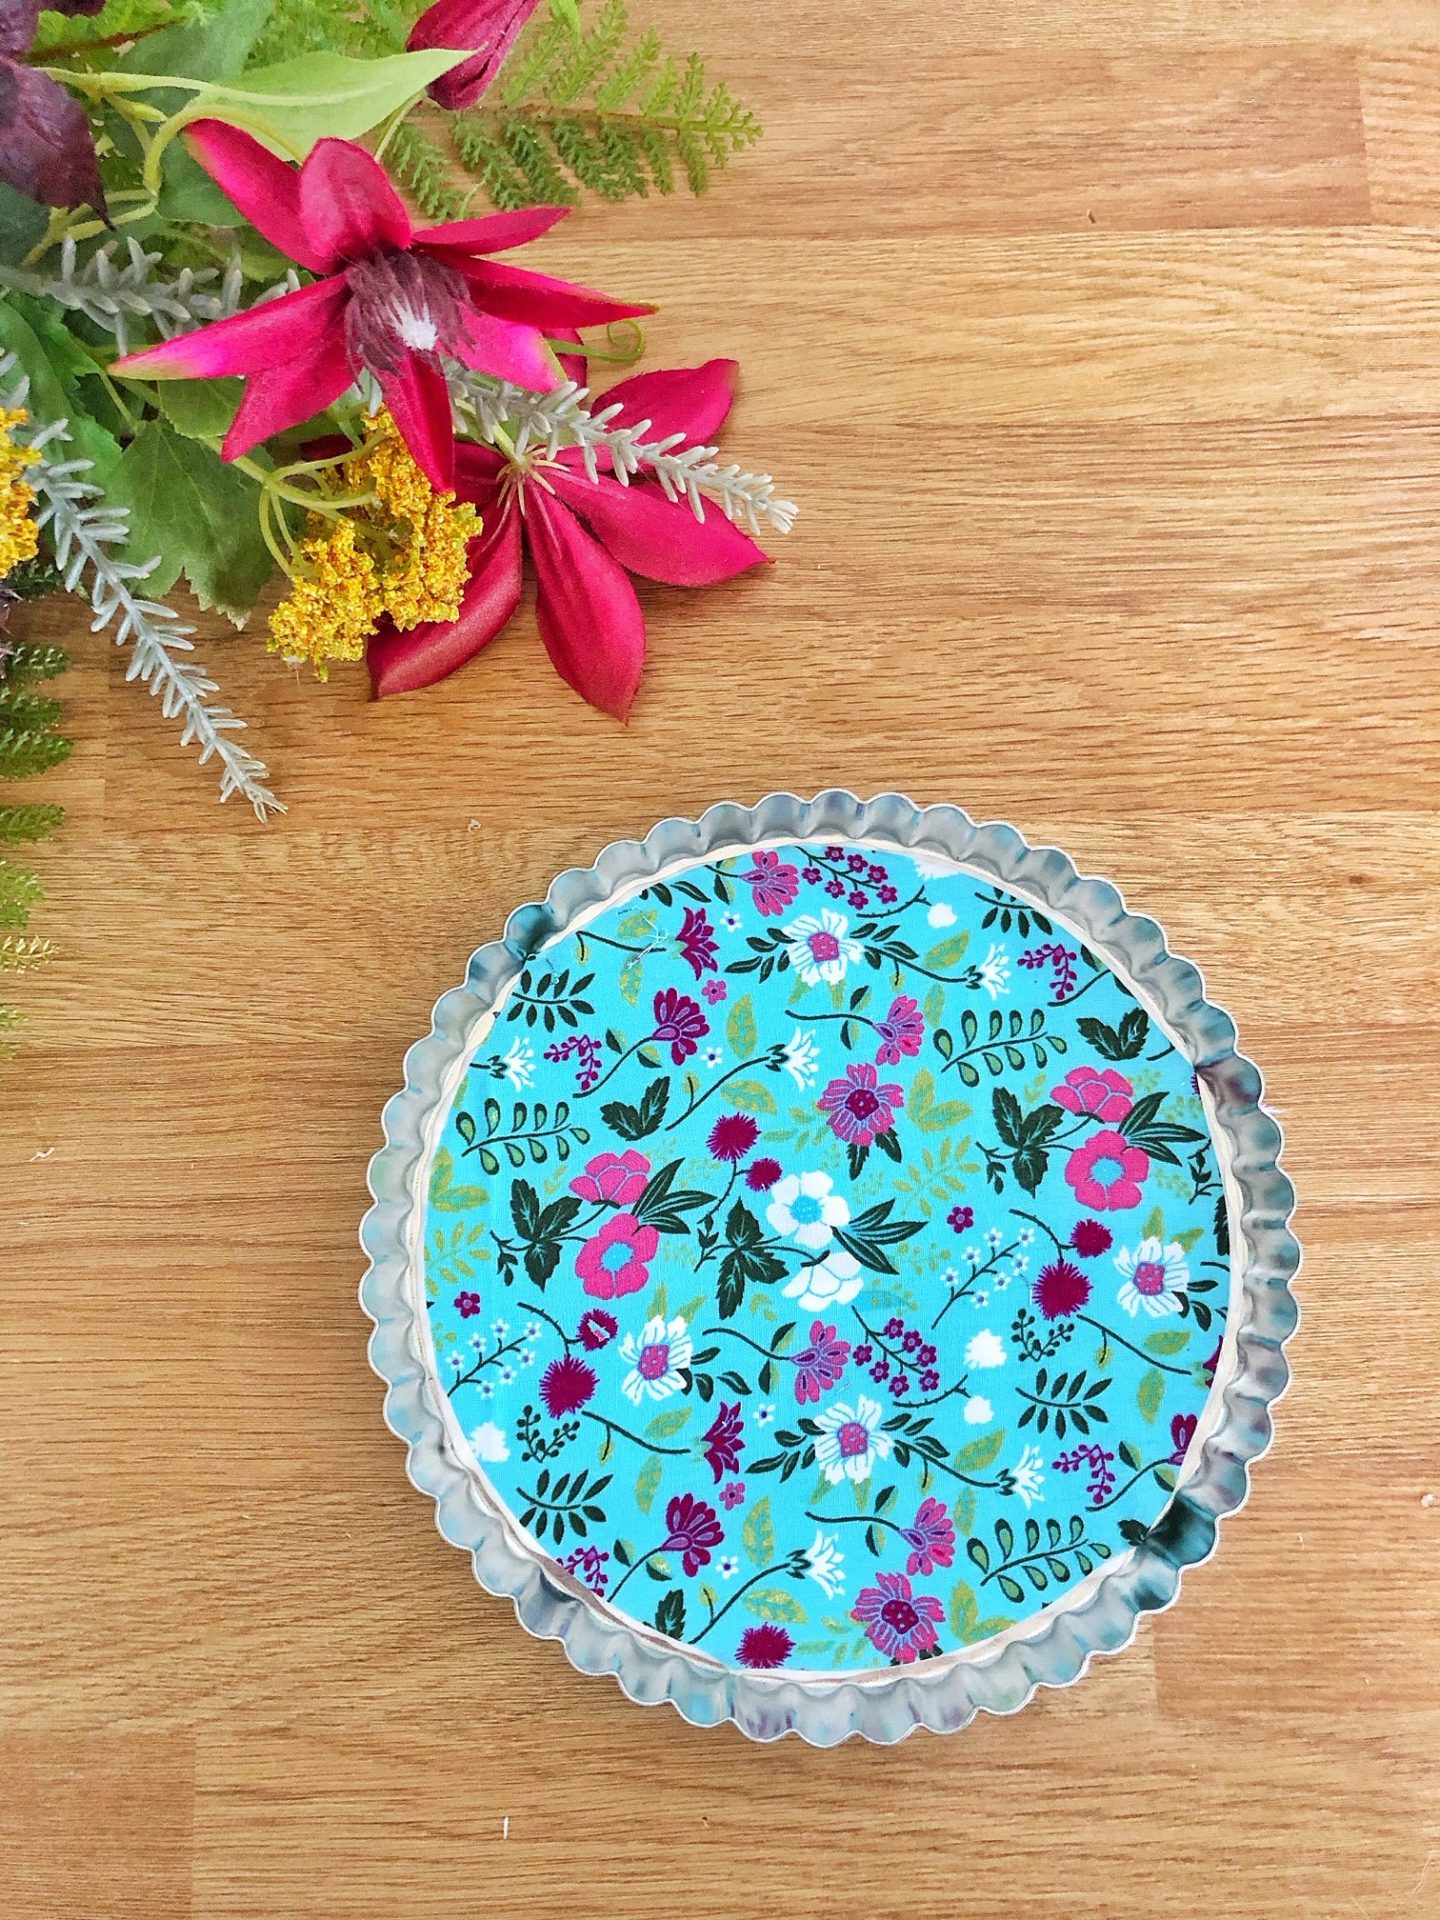
You can mount on the wall with command strips (I prefer them to everything else now!)
That’s it!
I can’t wait for our family hub to be done, yes we might have to deal with the kids stealing from the fridge but I really think it will be the happy centre of our home.
In paid collaboration with Belling.
